Hover a mouse pointer over the Schedule menu link on the menu bar to display its drop-down menu.
Slide a mouse pointer over to the Build Schedule option to display its menu.
Click Schedule Organization
to open the Schedule Organization screen.
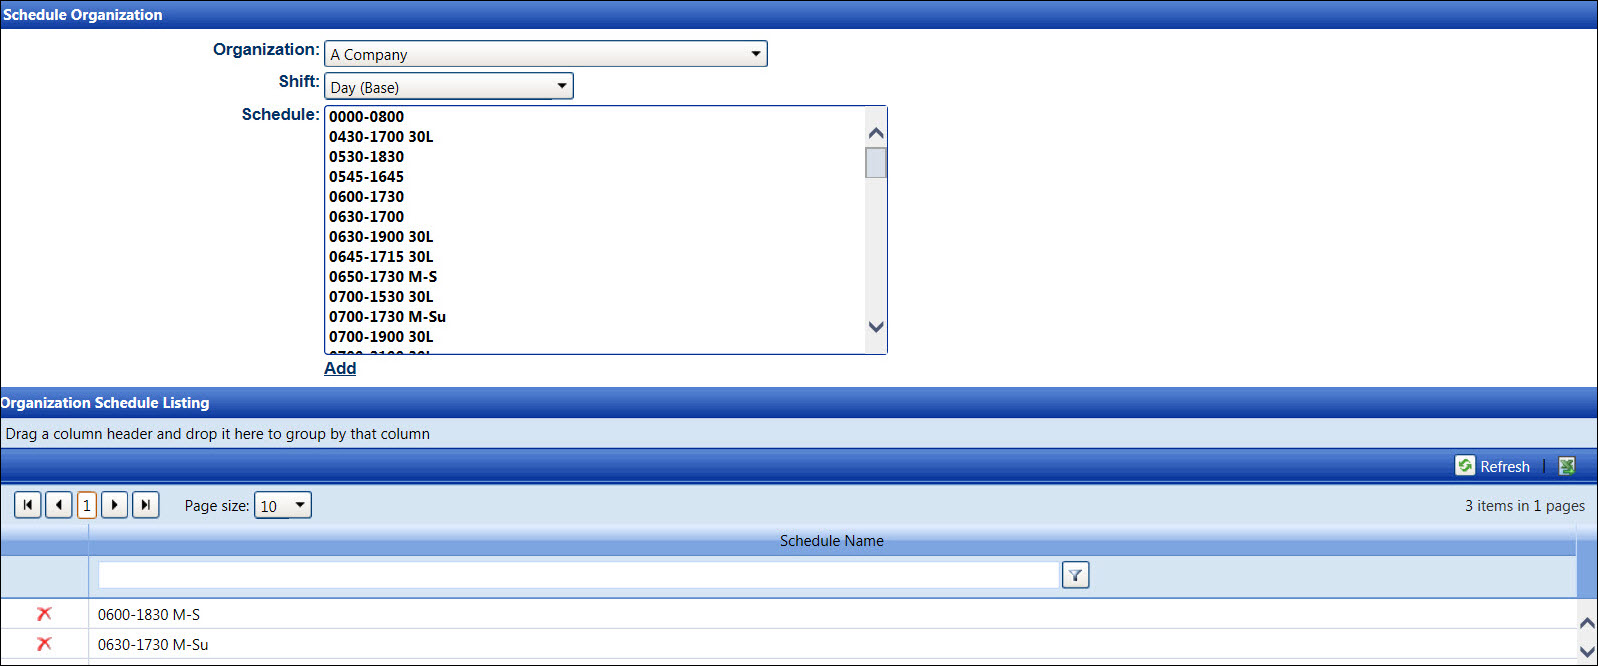
Users may assign or remove a schedule to or from the selected organization.
Hover a mouse pointer over the Schedule menu link on the menu bar to display its drop-down menu.
Slide a mouse pointer over to the Build Schedule option to display its menu.
Click Schedule Organization
to open the Schedule Organization screen.
If applicable, select a location from the Location drop-down list located at the menu bar.
From the Schedule Organization screen, select an organization from the Organization drop-down list.
Select a shift from the Shift drop-down list to display the available schedules in the Schedule list box.
Select one or more schedules from the Schedule list box to highlight the selected scheduled items, using the Control or Shift key control. (see also Control and Shift Keys)
Click Add to assign the highlighted schedules to the selected organization and display them in the Organization Schedule Listing.
If applicable, select a location from the Location drop-down list located at the menu bar.
From the Schedule Organization screen, select an organization from the Organization drop-down list.
Select a shift from the Shift drop-down list to display the assigned schedules in the Organization Schedule Listing.
From the Organization Schedule Listing, click the Delete icon on the line item. The pop-up message appears.
Click OK to remove the selected schedule from the selected organization.
Related Topics