A rotating shift schedule is a work schedule in which a labor resource
works one shift with set hours then rotates to a different shift with
a different set of hours. A typical rotating schedule may include all
three work shifts: Day, Swing, and Night. Rotating schedules allow the
facility to remain open and operational twenty-four hours a day, seven
days a week.
Hover a mouse pointer over the Schedule
menu link on the menu bar to display its drop-down menu.
Slide a mouse pointer over to the Build
Schedule option to display its menu.
Select Schedule
Detail to open the Schedule Detail screen.
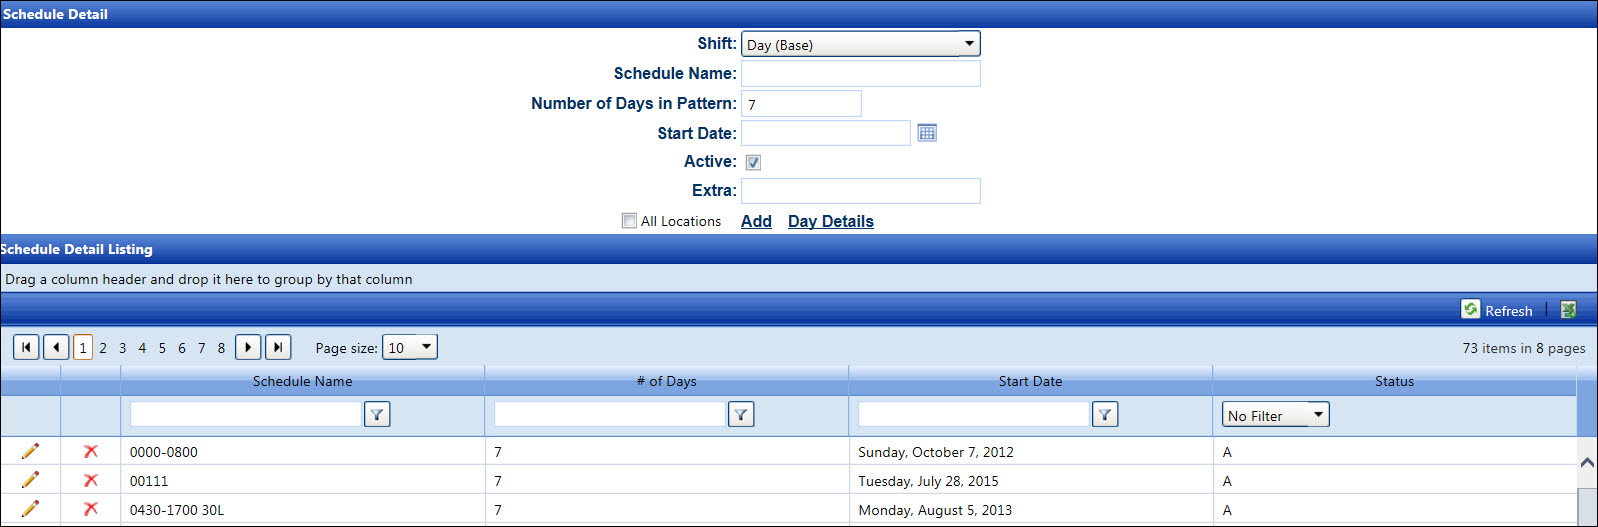
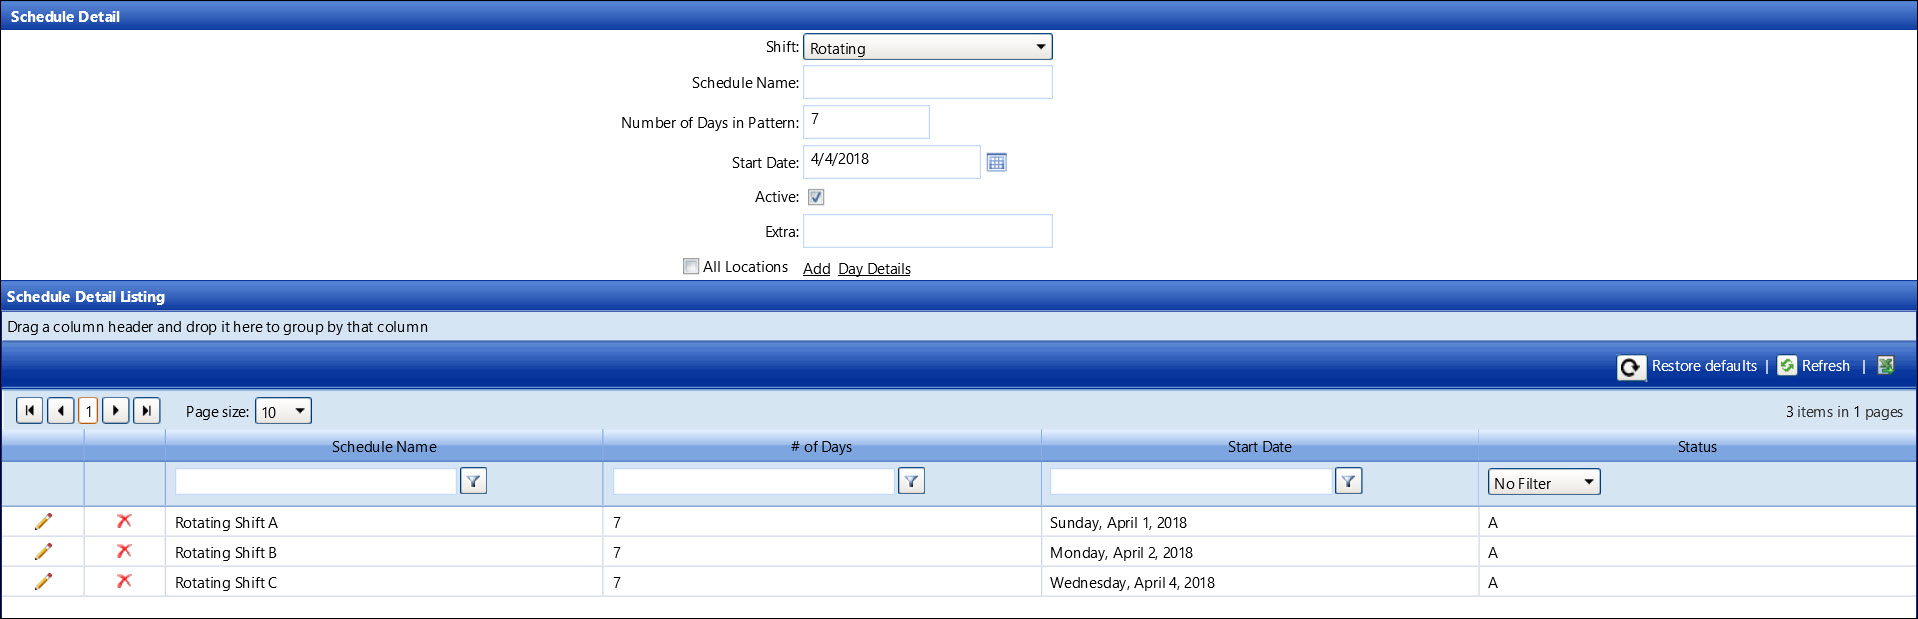
From the Schedule Detail screen, select the Rotating
option from the Shift drop-down
list.
Enter a new rotating shift schedule name into the Schedule
Name text box.
Enter the number of days in the cycle into the Number
of Days in Pattern text box.
The day of the week for this calendar date will be the first
day of the week for this schedule as well as the start date of the
cycle. For example, if the selected date falls on Sunday, then the
first day of the week is a Sunday. Enter a scheduled start date into
the Start Date text box. Alternatively,
select a date from the calendar. (see also Date
Format)
The Active checkbox
is selected by default. Proceed to the next step.
Enter additional information into the Extra
text box, if applicable.
Click Add to save and
display the new rotating shift schedule in the Schedule Detail Listing.
From the Schedule Detail screen, select the Rotating
option from the Shift drop-down
list. The rotating shift schedules display in the Schedule Detail
Listing.
From the Schedule Detail Listing, click one of the rotating
shift schedules to highlight the line item.
Click the Day Details link
to open the Schedule - Day Detail screen.
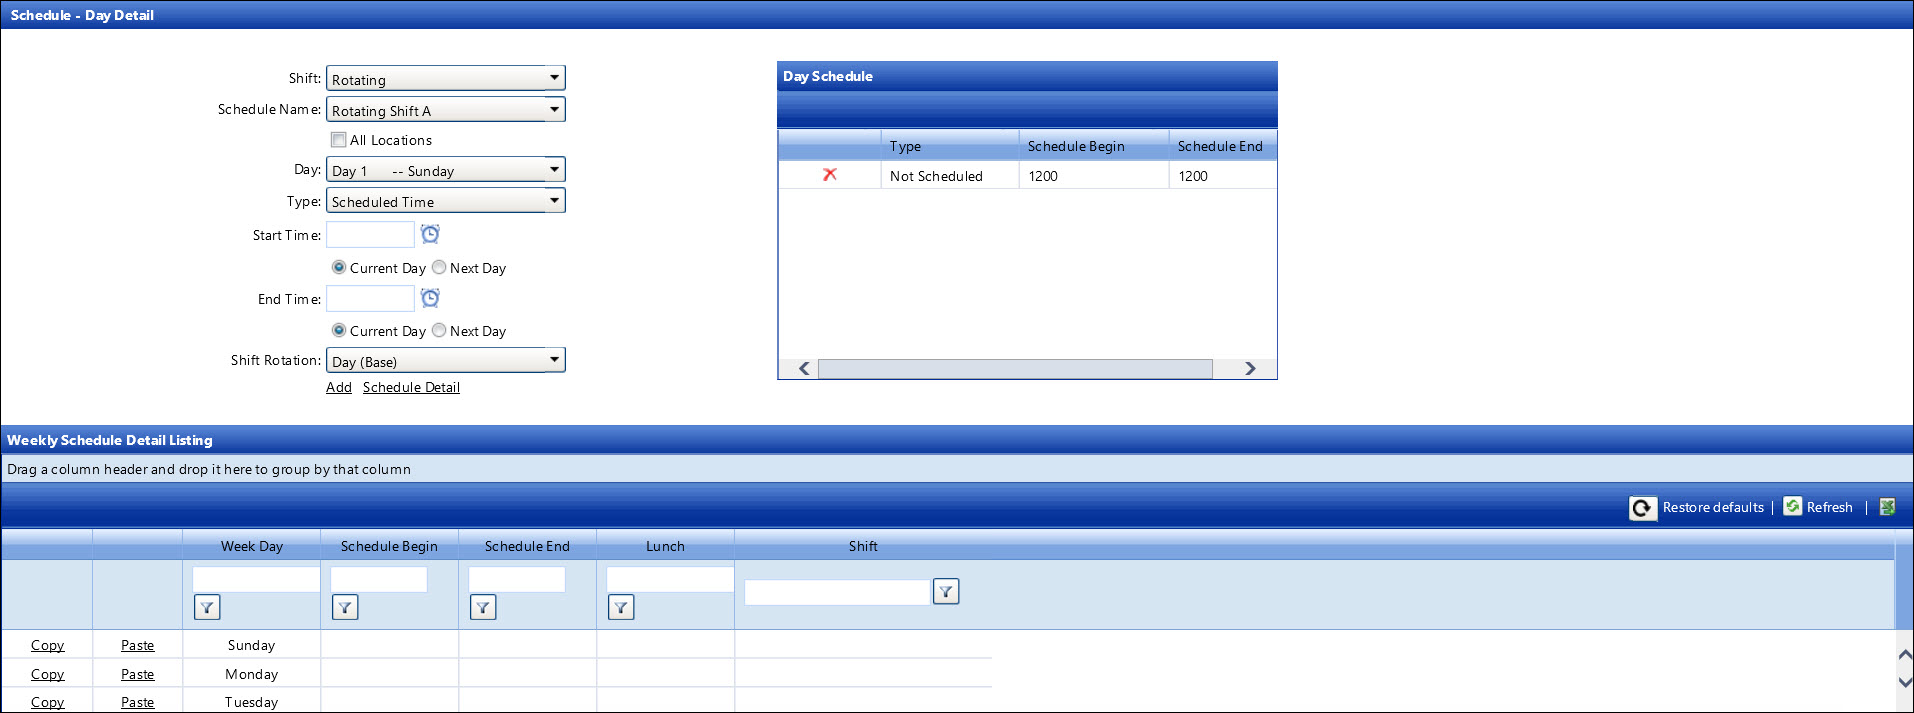
Ensure the following items are selected:
The Rotating option
displays in the Shift
drop-down list.
The selected rotating shift schedule displays in the Schedule Name drop-down list.
If applicable, select another rotating shift schedule from the
Schedule Name drop-down
list.
The scheduled Day 1 of the selected rotating shift schedule
displays in the Day drop-down
list.
Select a schedule type from the Type
drop-down list.
Enter the scheduled start and end time, using the 24-hour format,
into the Start Time and End Time text boxes. Alternatively,
click the Time icon  and select the scheduled start and end times. (see also Time Format)
The Current Day buttons
for the start and end time are selected by default. If the end time
crosses midnight, click the Next
Day button. Otherwise, proceed to the next step.
Select a shift rotation option from the Shift
Rotation drop-down list to indicate the shift for this particular
day.
Click Add to save and
display the scheduled day, start and end times, and the shift in the
Weekly Schedule Detail Listing.
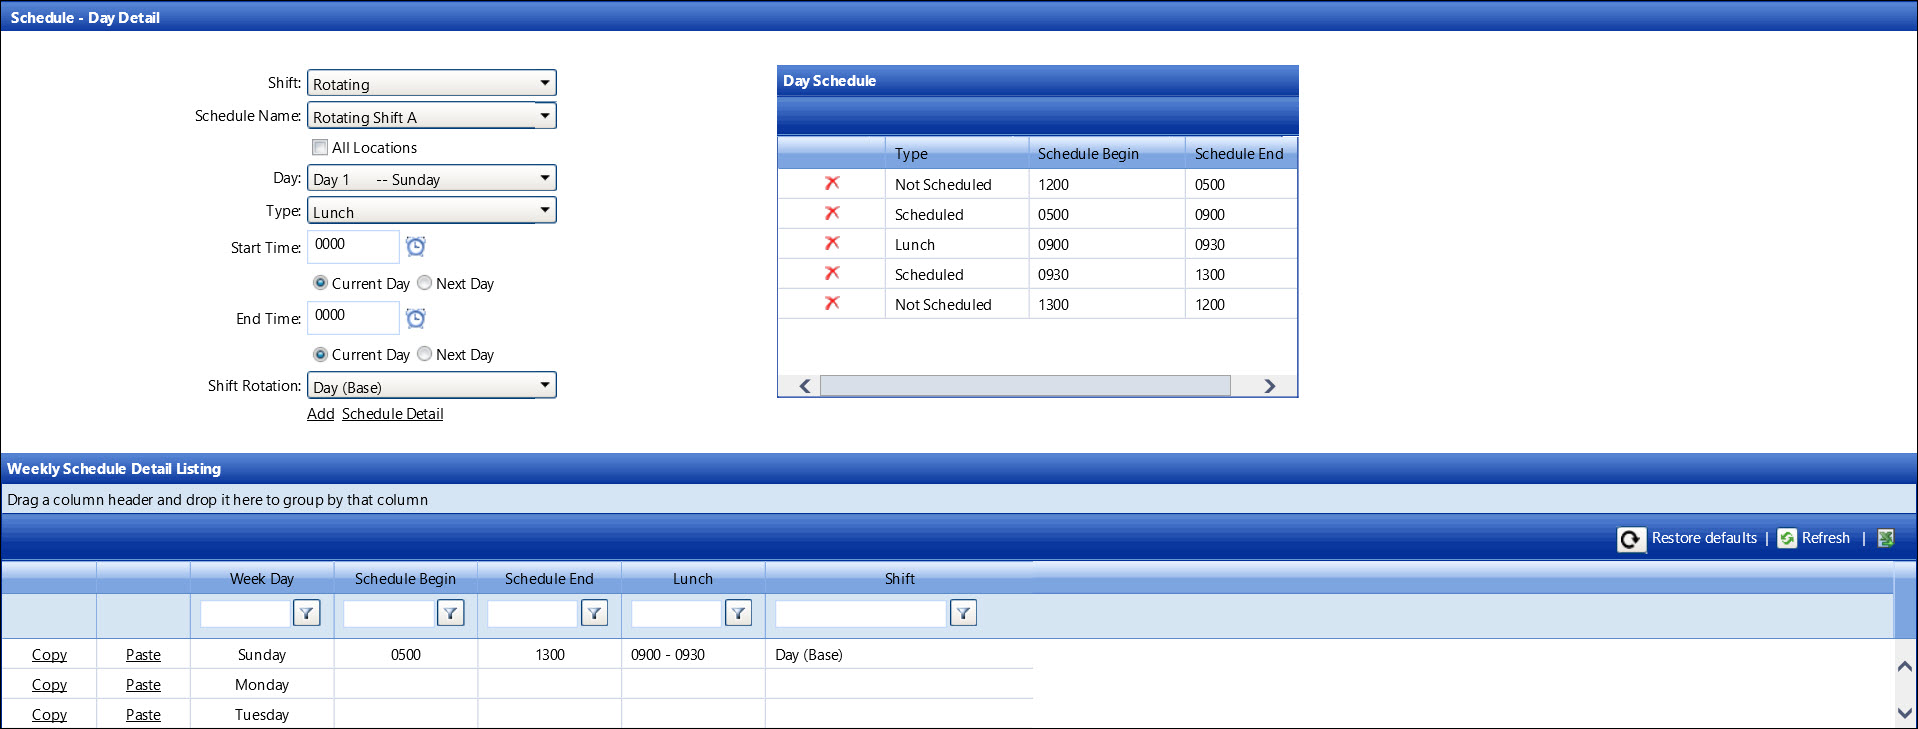
Repeat steps to enter additional day details.
Hover a mouse pointer over the Schedule
menu link on the menu bar to display its drop-down menu.
Slide a mouse pointer over to the Assignment
option to display its menu.
Click Individual Schedule
to open the Assignment - Individual Schedule screen.
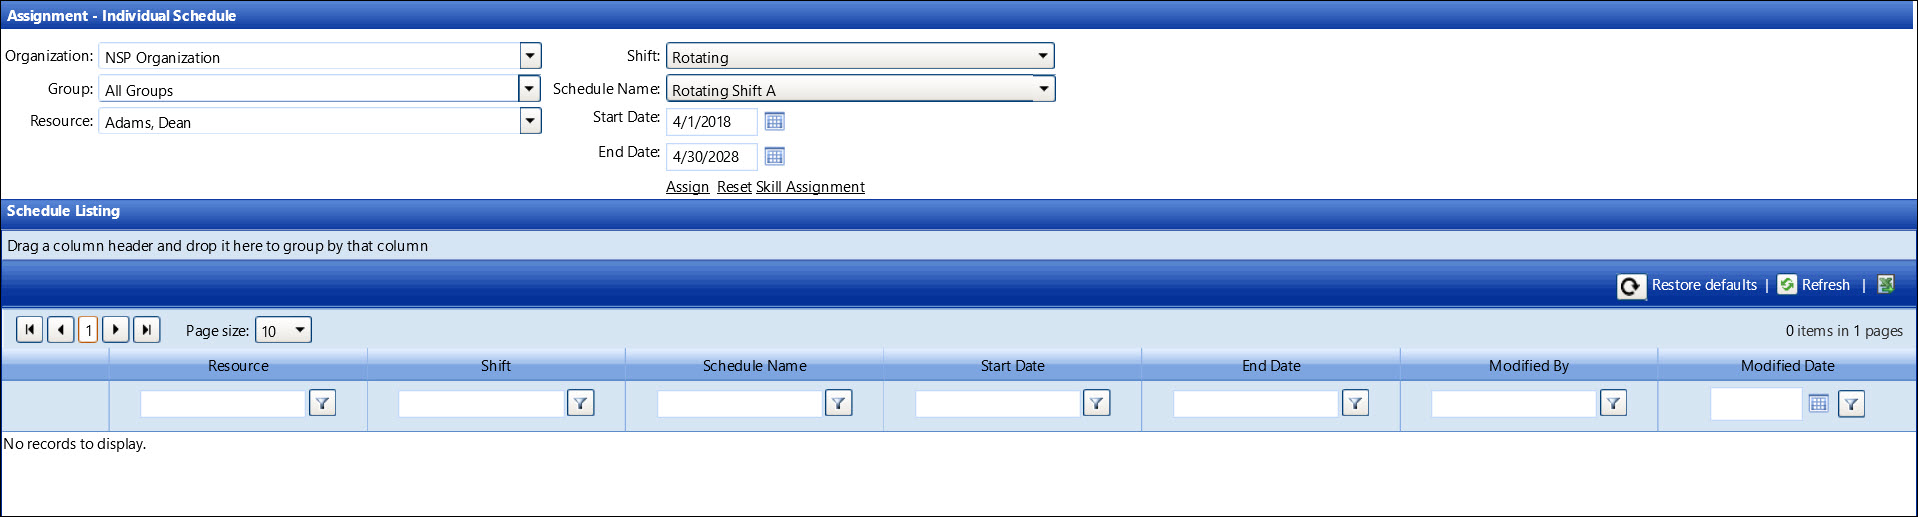
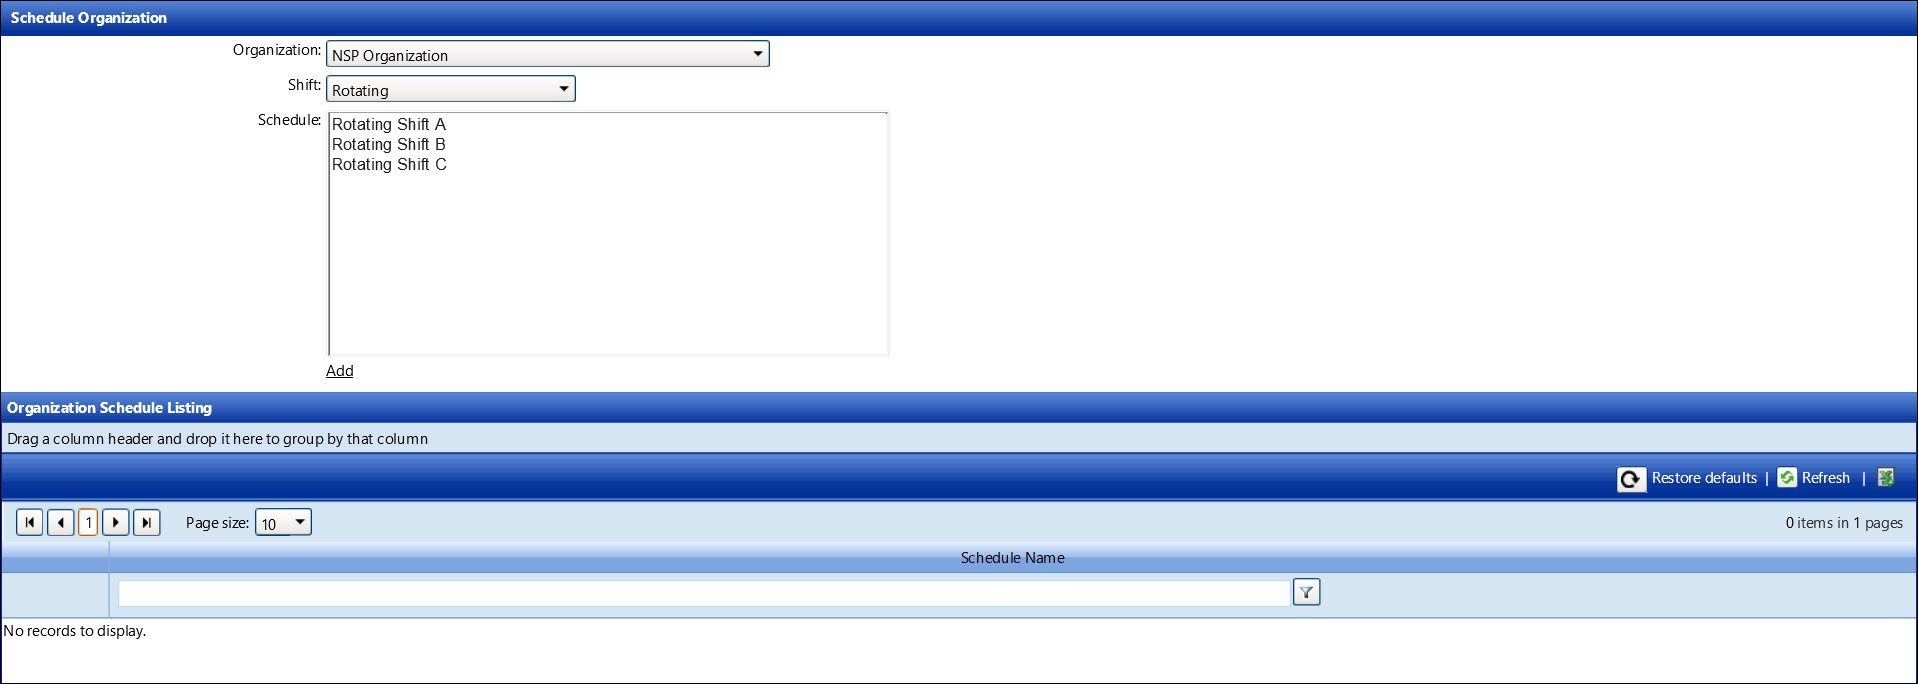
If applicable, select an organization from the Organization
drop-down list.
The All Groups in the
Group drop-down list is selected by default. Select a specific labor
group from the Group drop-down
list. Otherwise, proceed to the next step.
Select a labor resource from the Resource
drop-down list. If the selected labor resource has previously assigned
working schedules, they are displayed in the Schedule Listing.
Select the Rotating
option from the Shift drop-down
list.
Select a rotating shift schedule from the Schedule
Name drop-down list.
Enter the scheduled start date into the Start
Date text box, or select the date from the calendar. Leave
the End Date set to default.
As new schedules are assigned, the End Date(s) will adjust accordingly.
(see also Date
Format)
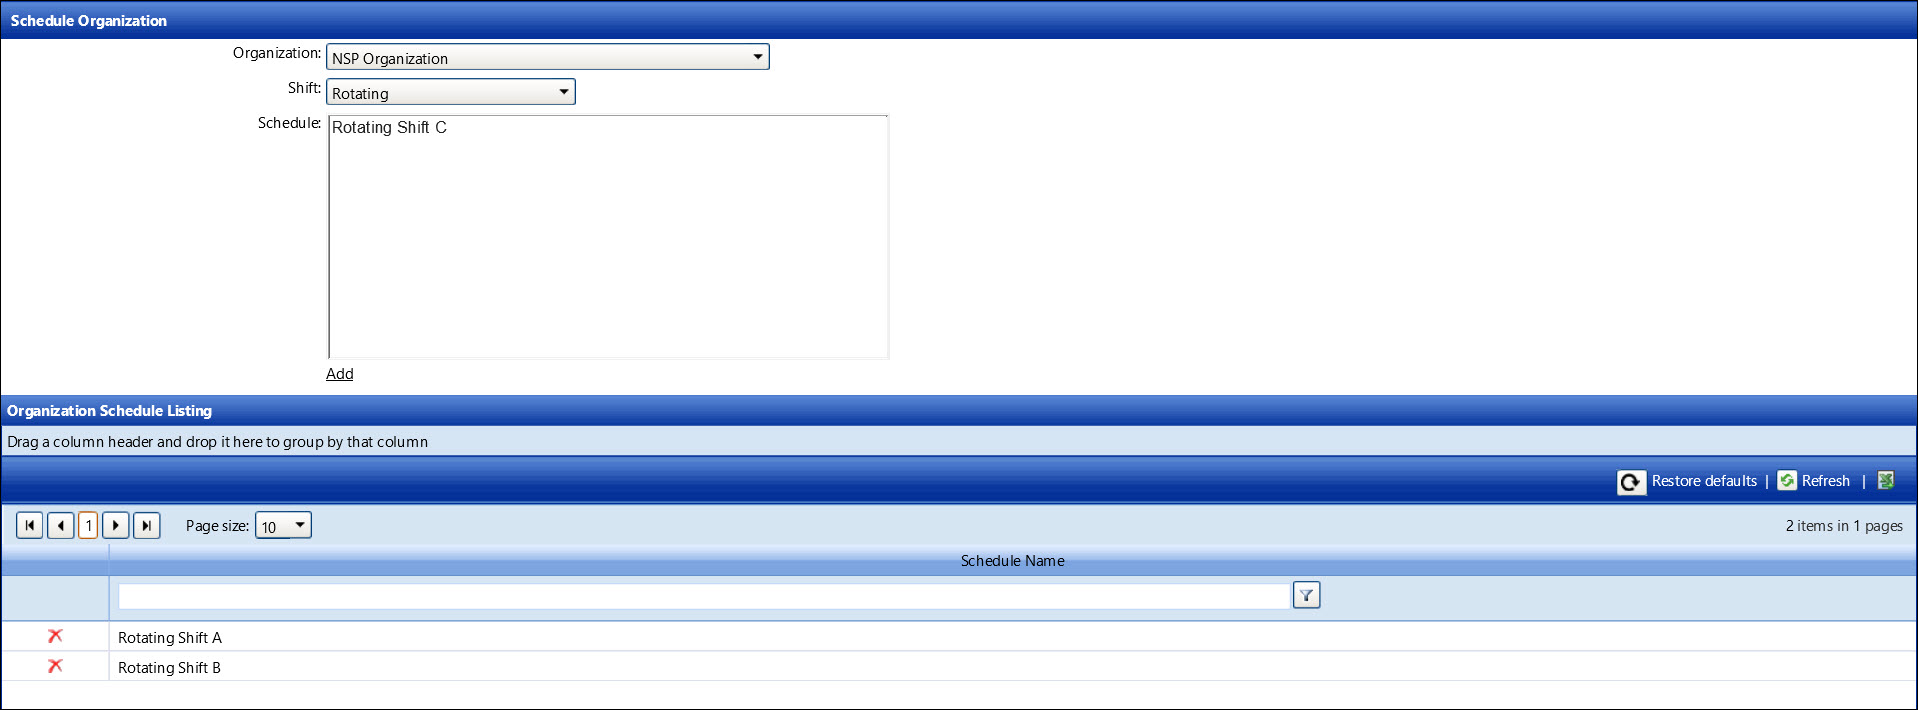
Click Assign to save
and display the assigned rotating shift schedule in the Schedule Listing.
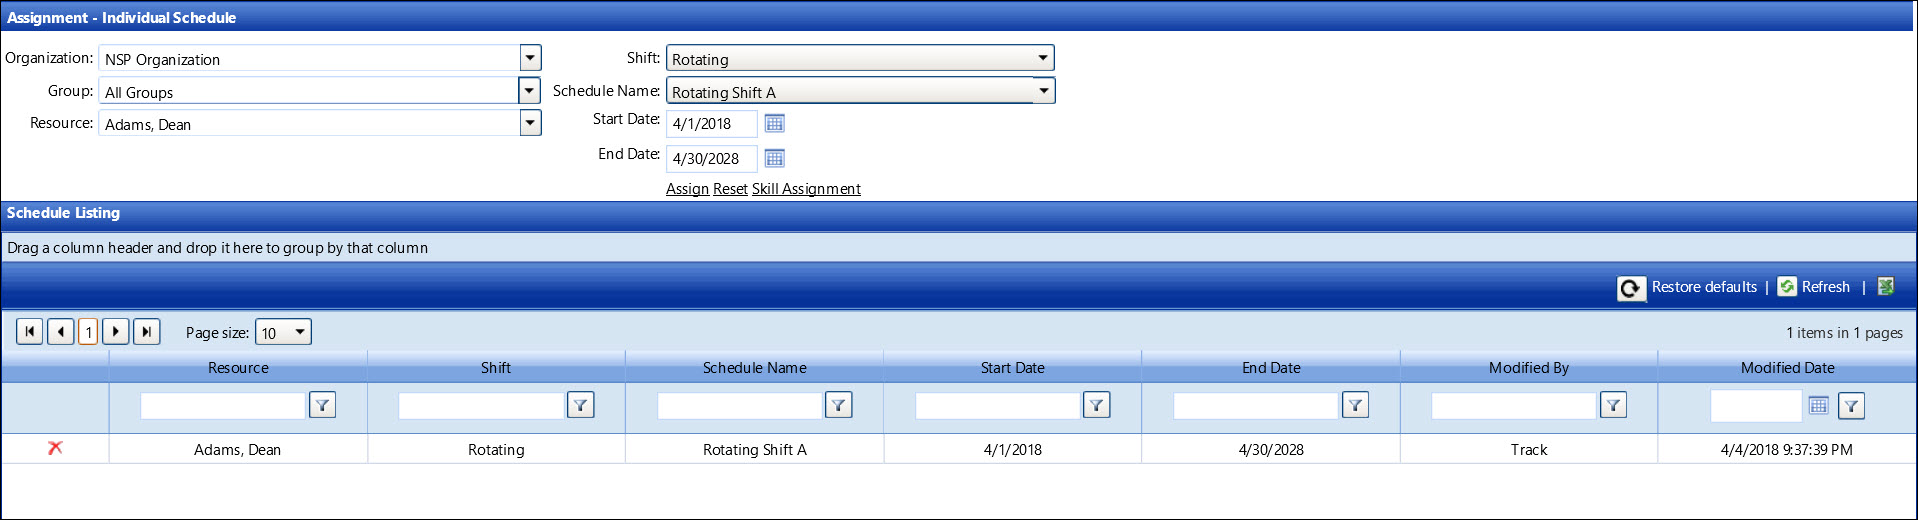
Select another labor resource from the Resource
drop-down list then repeat steps to assign a rotating shift schedule
to the selected labor resource.