Hover a mouse pointer over the Settings menu on the menu bar to display its drop-down menu.
Slide a mouse pointer over Geo Options to display its menu.
Click Geo Boundaries Data to
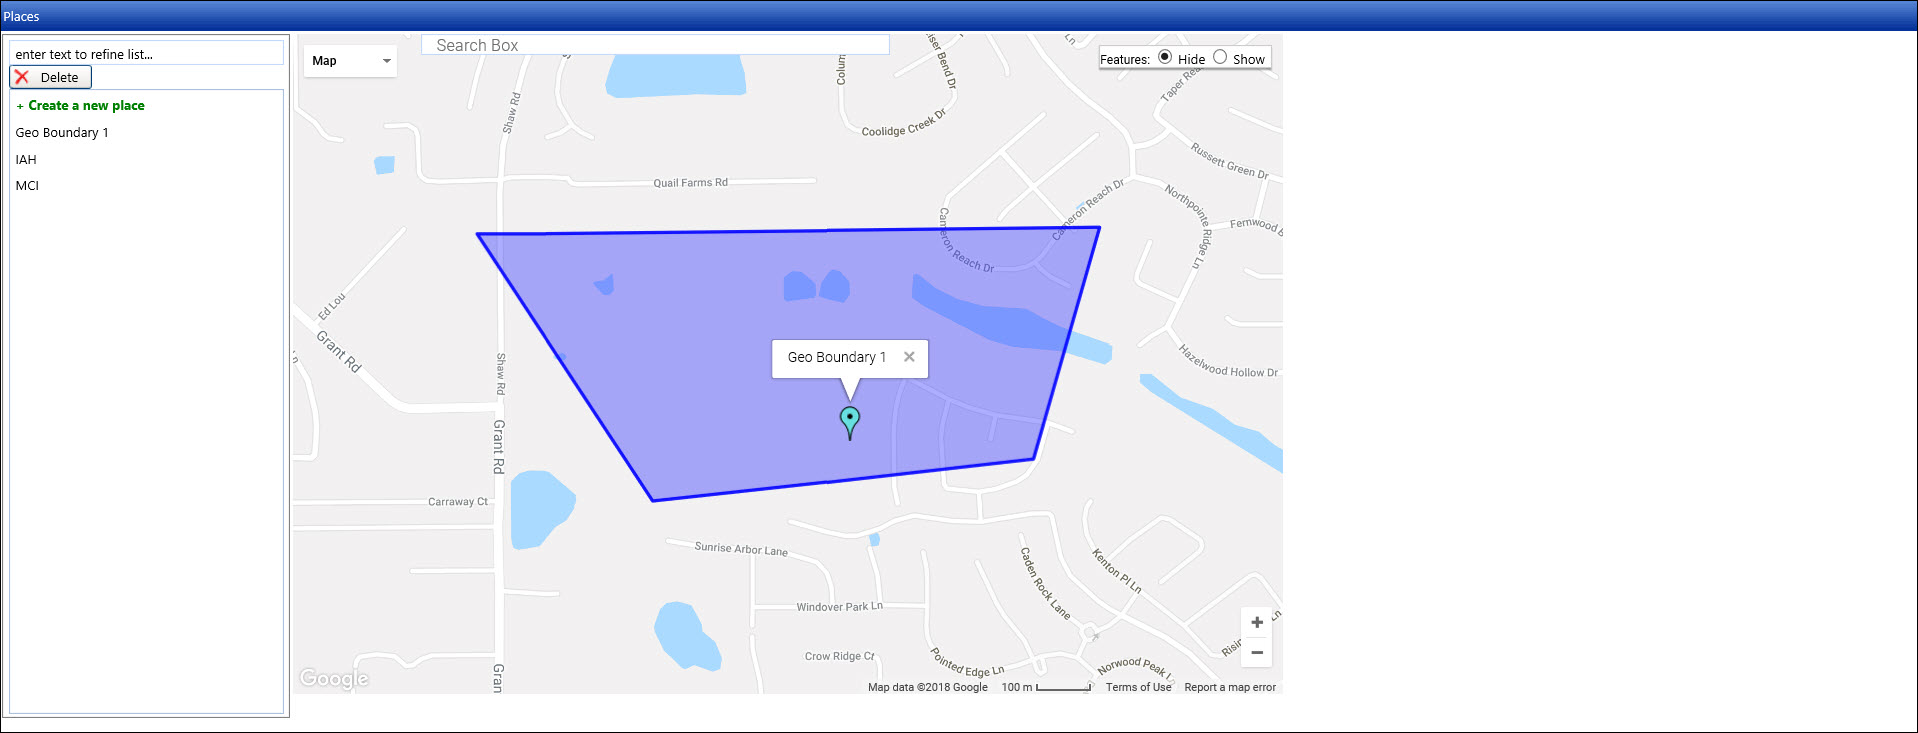
open the Places screen.
Hover a mouse pointer over the Settings menu on the menu bar to display its drop-down menu.
Slide a mouse pointer over Geo Options to display its menu.
Click Geo Boundaries Data to
open the Places screen.
All fields are required for an entry or a selection.
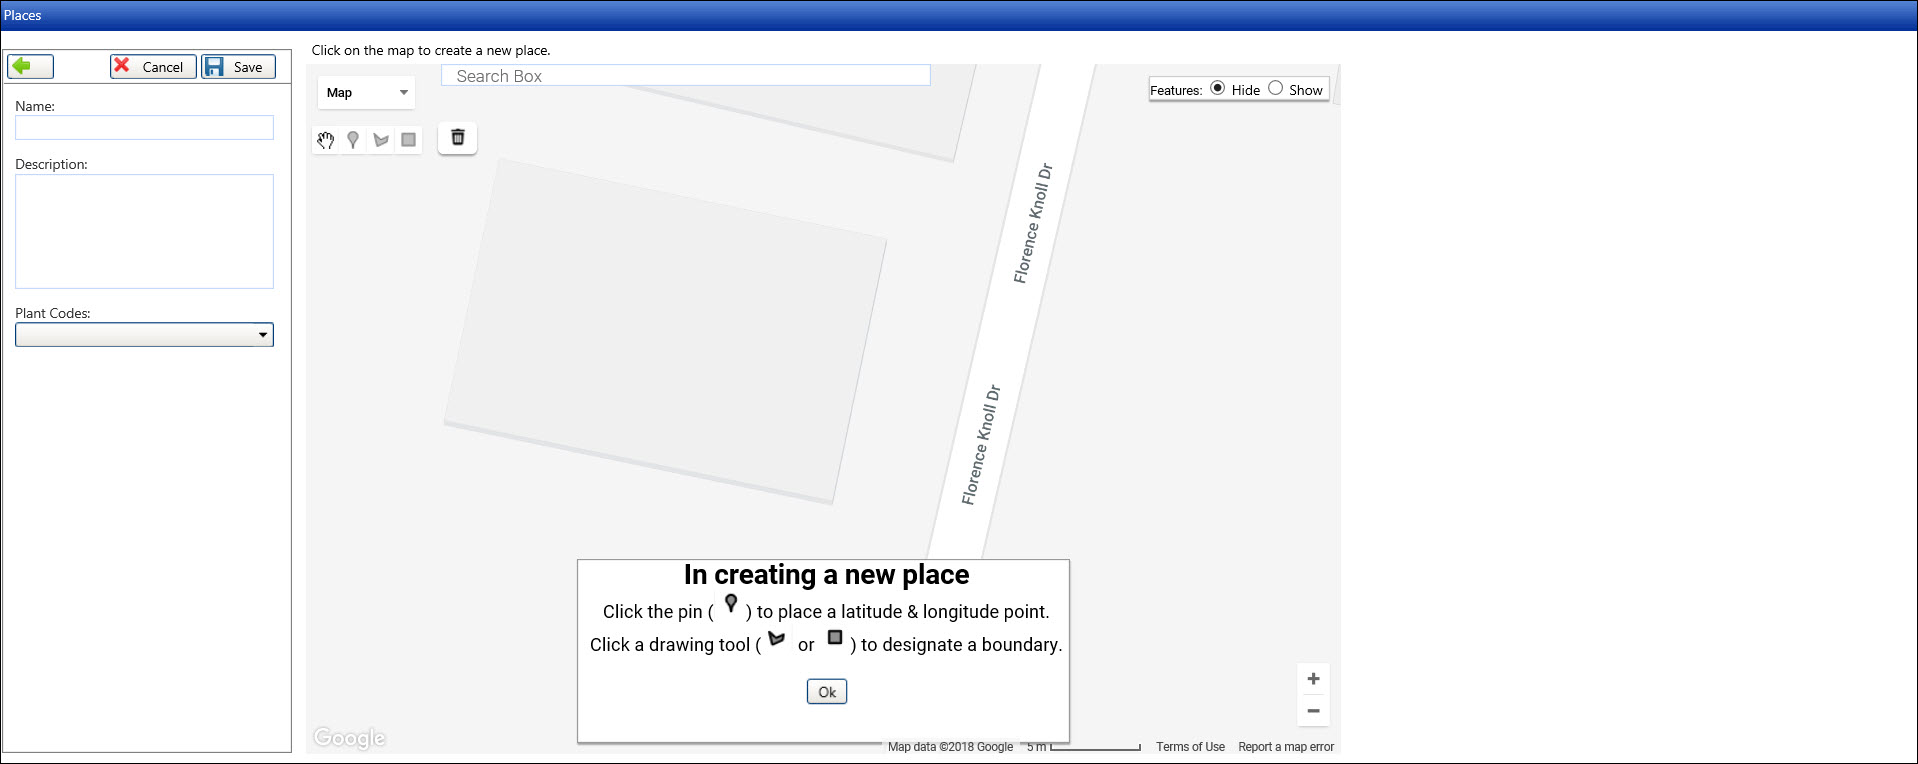
From the Places screen, click Create
a New Place to refresh the Places screen, displaying the Name
and Description text boxes, Plant Codes drop-down list, and the new
map.
Enter the name of the place into the Name text box.
Enter the place's description into the Description text box.
Click the Plant Code drop-down list to display the plant code listing.
Select one or more plant codes by clicking the checkboxes.
From the Map, click the Marker icon then click on the map to place the latitude and longitude points. The Geo-Point is displayed on the map.
Select the Drawing Shape or Drawing Rectangle tool icon then click on the map to create a boundary.
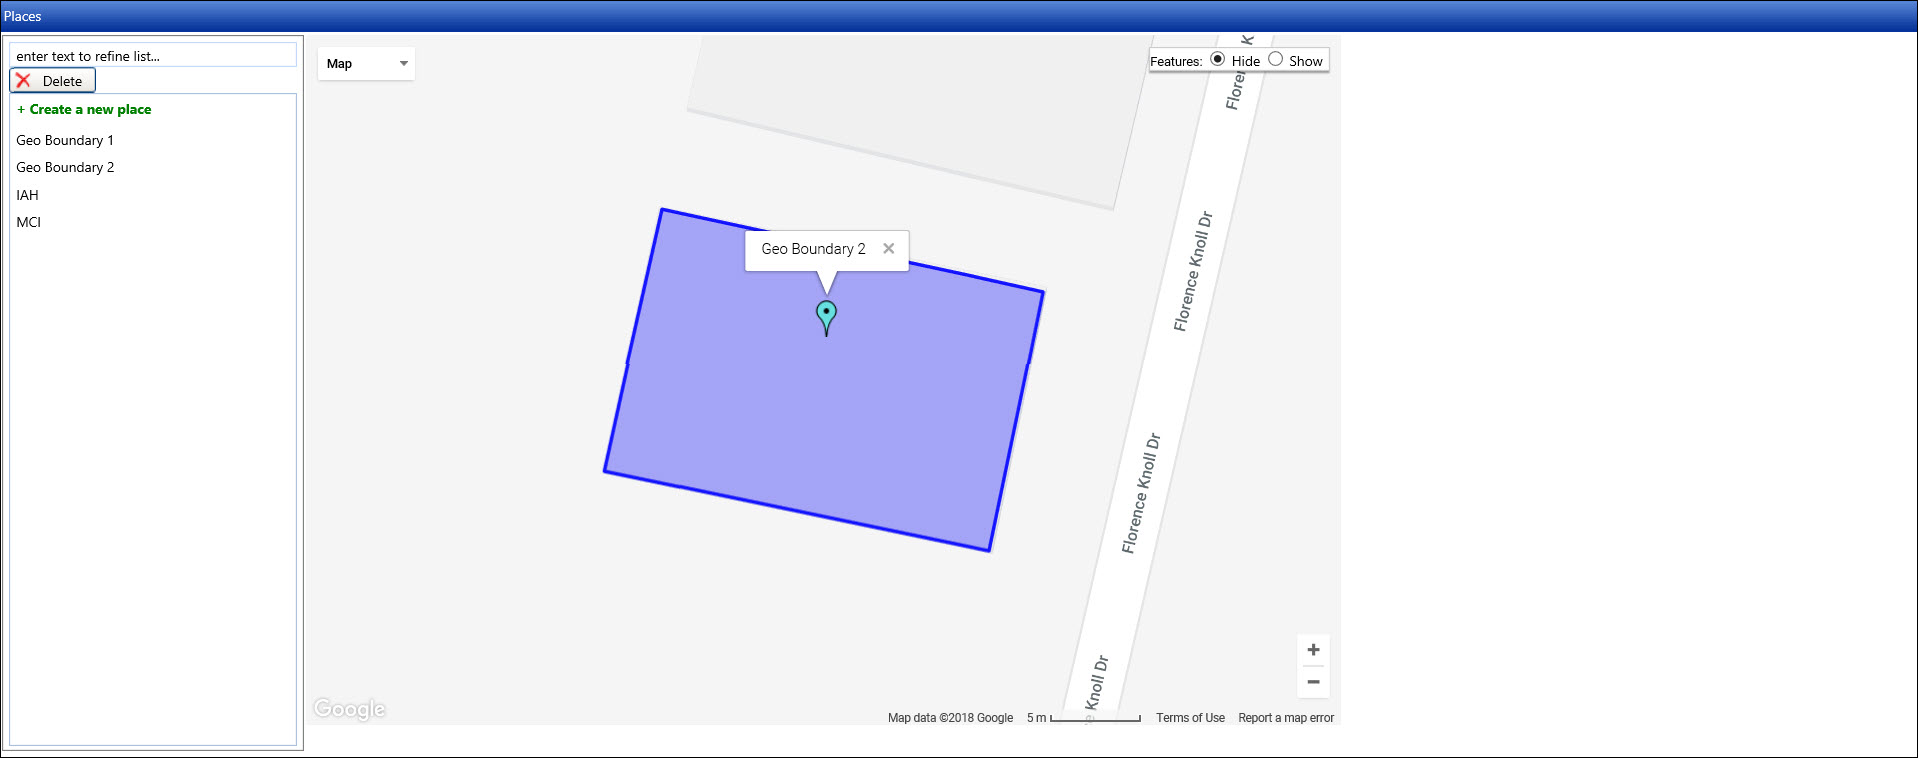
Click the Save button
to save the new place and refresh the Places screen.
Hover a mouse pointer over the plant code to enable the tool-tip, displaying its assigned Geo boundary.
Under the Map drop-down list, the user can interchange between the map and the satellite view. Click the Terrain checkbox to view the topography.
Click the Show button to display other locations surrounding the new Geo-Point.
Click the Zoom In or Zoom Out icon to enlarge or reduce the map.
From the Places screen, double-click one of the places to refresh the Places screen, displaying the selected place's information and its map.
Make changes to the selected place's information or its map.
Click the Save button to save the modifications.
From the Places screen, select one of the places from the listing to highlight the line item.
Click the Delete button to delete the selected place and refresh the Places screen.
Related Topics
Understand Authorization Central screen for Geo Authorization