Hover a mouse pointer over the Settings menu to display its drop-down menu.
Slide a mouse pointer over the Utilities option to display its menu.
Click Track Import to display the Track Imports screen.
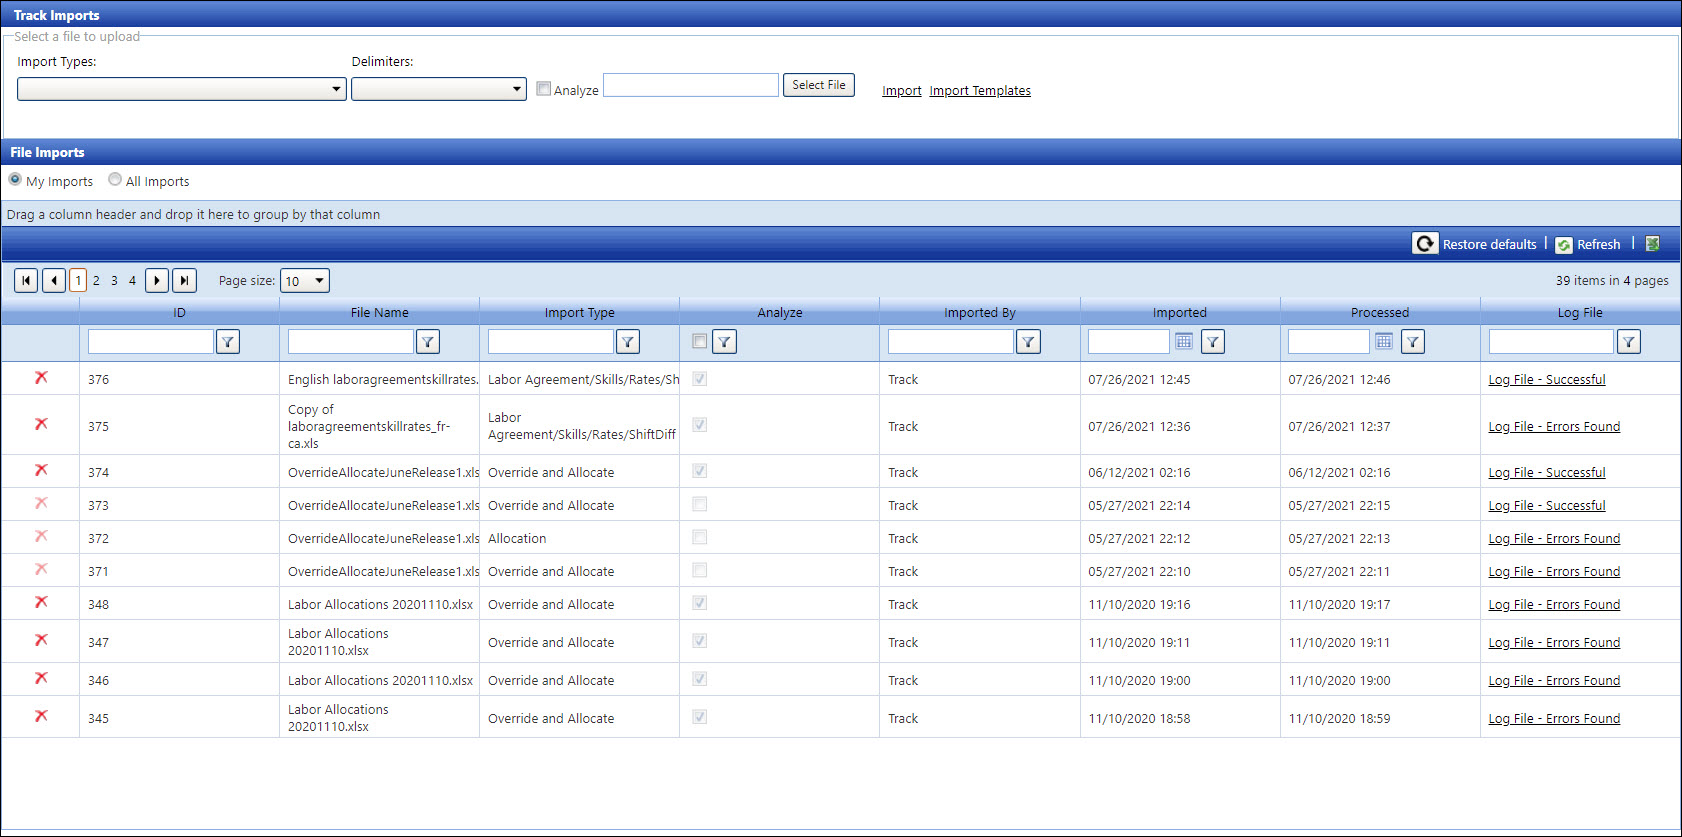
Track Imports allows Track users to update the Track application by using a batch process where many records can be added or updated at once through the template file. Track Imports screen contains the import features necessary for this process and displays the history of the user’s or all import attempts.
Hover a mouse pointer over the Settings menu to display its drop-down menu.
Slide a mouse pointer over the Utilities option to display its menu.
Click Track Import to display the Track Imports screen.
Analyze the import file should always be the first step to verify the records and view errors before applying any transaction to the database. Refer to File Import Types for more information on file extensions and import types' descriptions.
If applicable, select a location from the Location drop-down list at the menu bar.
From the Track Imports screen, select an import file type from the Import Types drop-down list.
TRACK
will validate the uploaded template file with the green dot ![]() , which indicates that the file extension is valid.
, which indicates that the file extension is valid.

TRACK
will flag the uploaded template file that is invalid with the
red dot ![]() and the error message
“Invalid file extension”.
and the error message
“Invalid file extension”.

Select the delimiter option from the Delimiters drop-down list.
Click the Analyze checkbox.
Click the Select File button to locate and select the file to import.
If users must upload two files for the import, ensure the first uploaded file is for the import template with the correct file extension:
CSV
TXT
XLS
XLSX
Users can upload additional file as an attachment with the following file extension:
DOCX
ZIP
XLS
XLSX
JPG
JPEG
PNG
Click the Import link to analyze the selected file. After the analyzing process is completed, the analyzed file’s Processed column in the File Imports grid will be updated with the date and time processed. Refer to Log Files for more information.
The Log File active link is displayed under the Log File column.
Log File - Successful indicates that an import is successfully analyzed or imported.
Log File - Errors Found indicates an import has one or more errors.
If the file is correctly analyzed, the next step is to import the records from this file.
From the Track Imports screen, select an import file type from the Import Types drop-down list.
Select the delimiter option from the Delimiters drop-down list.
Leave the Analyze checkbox unchecked.
Click the Select File button to locate and select the file that was analyzed with no errors.
Click the Import link to import the selected file. After the import process is completed, the imported file’s Processed column in the File Imports grid will be updated with the date and time processed.
Click LogFile in the File Imports grid to open the Import Log screen. If the file is imported correctly, the message displays, “Import completed successfully. Refer to Log Files for more information.