Hover a mouse pointer over the Invoices menu link to display its drop-down menu.
Slide a mouse pointer over the Timesheet option to display its menu.
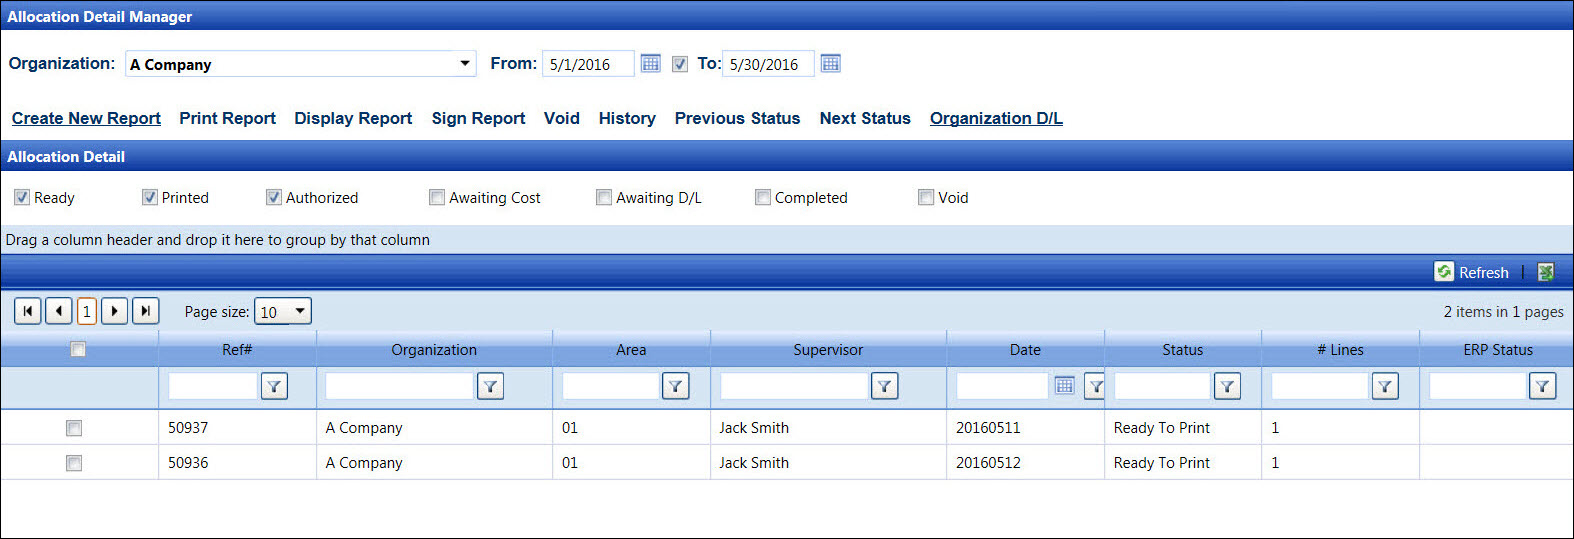
Click Central to display
the Allocation Detail Manager screen.
Hover a mouse pointer over the Invoices menu link to display its drop-down menu.
Slide a mouse pointer over the Timesheet option to display its menu.
Click Central to display
the Allocation Detail Manager screen.
Timesheet can be voided if it has the Ready To Print, Printed, or Authorized status. Refer to Allocation Detail Manager for more information.
From the Allocation Detail Manager screen, enter the timesheet date or date range into the From or To text boxes to display the timesheets. Alternatively, select the dates from the calendars. (see also Date Format)
From the Allocation Detail grid, click the checkbox on a line item with Ready To Print, Printed, or Authorized status to enable the Void link.
Click the Void link. The pop-up message appears.
Click OK to open the dialog box.
Enter a reason for the void into the Comments to Void Timesheet text box.
Click OK to close the dialog box and void the selected timesheet. The voided timesheet is assigned the Void status. If the Void checkbox is selected, then the timesheet appears in the Allocation Detail grid with the Void status.
Related Topics