The Revoke Wizard is a time-saving
tool. Track Coordinators will have an option to revoke specific allocations
instead of voiding the entire timesheet. Vendor Timekeepers only need
to correct the allocations that have been revoked by the Track Coordinators.
After
accessing Track, hover a mouse pointer over Invoices.
Drop
down to Timesheet, then select
Revoke to open the Revokes
screen.
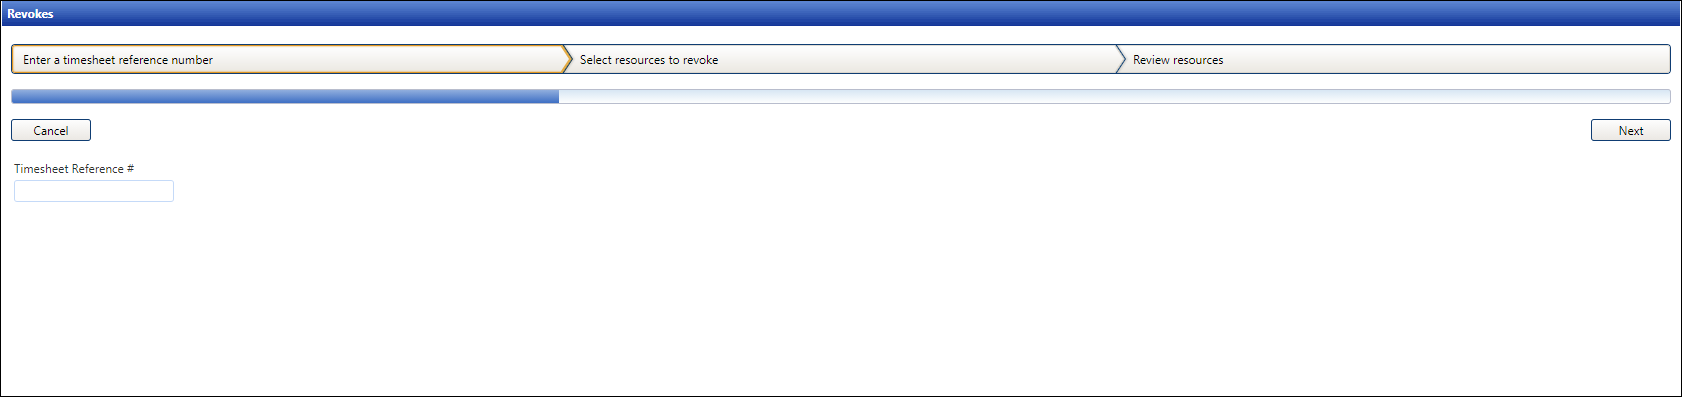
Enter
a partial timesheet reference number into the Timesheet
Reference # text box. While typing in the timesheet reference
number, a list of timesheets that contains the numbers typed will
populate.
Select
a timesheet from the listing or click the Next
button to select the timesheets from the listing. The allocations
with the associated timesheet reference numbers are displayed in the
Select Resources to Revoke tab.
Click
a checkbox on a line item to select an allocation to be revoked.
Click
the Next button. The selected
allocations are displayed on the Review Resource tab.
To add one or more allocations from an additional timesheet, click
the Add Additional Timesheet
button.
To
remove an allocation from the grid, click the Delete
icon on a line item.
To
revoke an allocation, click the Comment
icon to enable the text box for each line item.
Enter
a comment into the text box.
Click
the Finish button to revoke
the selected allocations.
The
alert is enabled at the Track Main Window. Click Home
to open Track Main Window.
Hover
a mouse pointer over the red Alerts
icon to display a message that the revoke has been processed. Refer
to Revokes
Completed for the Alert setup at the Personal Information
screen.
Click
Allocations at the menu bar
to open the Allocation Labor screen. The original allocation appears
as read-only with the timesheet reference numbers in the grid while
the revoke allocation appears as a negative allocation.
Allocate
the available hours by selecting the cost objects from the appropriate
Levels.
Click
Submit. The corrected allocations
appear on the next line item in the grid.
Click
the Accept/Unaccept Allocation
button to accept the allocation.
Select
Invoices at the menu bar to
open the Authorization Central screen.
NOTE: Authorize the revoked
allocations carries the same process when using the Express Central.
Click
the checkbox to enable the From and To text boxes.
Enter
a date into the From text
box or select a date from the Calendar.
Click
View. The allocations are
displayed in the Authorization Detail grid.
Click
Expand All to expand all the
line items. The revoked allocation with a negative number of hours
has the Revoke icon  displayed on the line item,
while the corrected allocation is displayed with a positive number
of hours.
displayed on the line item,
while the corrected allocation is displayed with a positive number
of hours.
Click
the checkbox on the line item to select an allocation.
Click
Authorize. The selected allocation
is authorized, and the timesheet is created.