Hover a mouse pointer over the Settings menu on the menu bar to display its menu.
Slide a mouse pointer over the Configuration option to display its menu.
Click
Personal Information to open
the Personal Information screen.
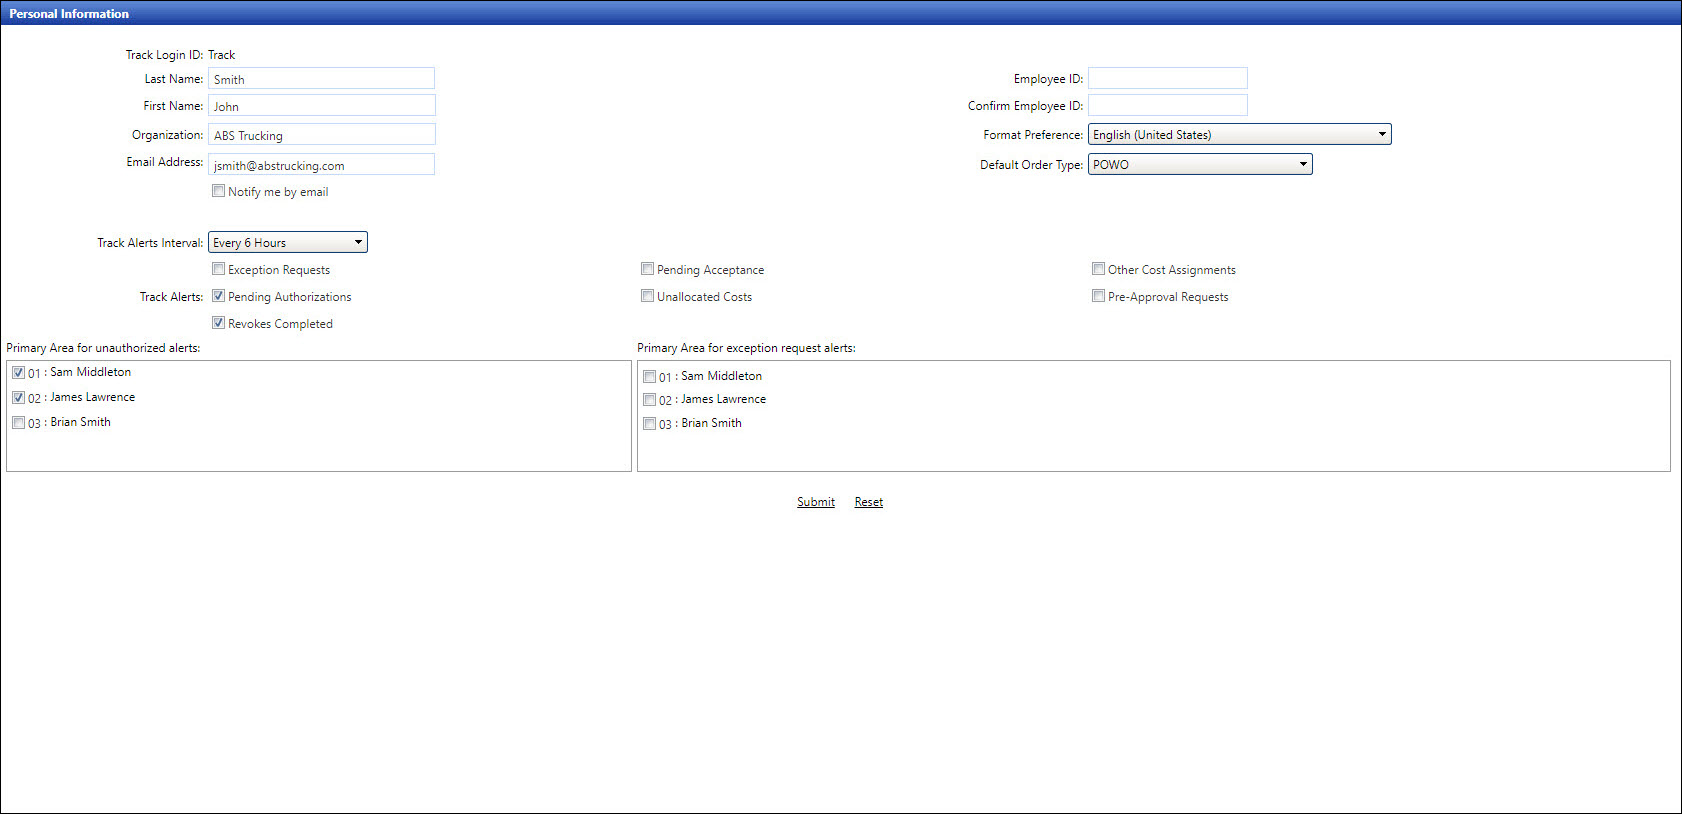
User may make changes to his/her personal information such as an e-mail address, as well as turn on or turn off the Notify me by email option.
Hover a mouse pointer over the Settings menu on the menu bar to display its menu.
Slide a mouse pointer over the Configuration option to display its menu.
Click
Personal Information to open
the Personal Information screen.
From the Personal Information screen, review the options, descriptions, and instructions from the Understand Personal Information Options table to enter or edit the personal information.
Once the modification is completed, click Submit to save the changes.
Track alerts are highlighted in red for immediate visibility. The alerts will display until the corresponding Track action item has been completed.
Option |
Description and Instruction |
Last Name |
Enter or modify the user's last name. |
First Name |
Enter or modify the user's first name. |
Organization |
Enter or modify the user's assigned organization. |
Email Address |
Enter an e-mail address which is used for scheduled reporting distributions or alert notifications. |
Notify me by email |
Select the Notify me by email checkbox to receiving the internal messages on the home page. |
Track Alerts Interval |
Pending Authorization Email set up. Refer to Pending Authorization Email for more information. |
Employee ID |
Enter or modify the user's employee ID. |
Confirm Employee ID |
Re-enter the user's employee ID. |
Format Preference |
Select the format preference to display different number, date, and time formats. |
Default Order Type |
Select a default order type assigns to the user. |
Exception Requests |
Select the Exception Requests checkbox so that the Track Coordinator or supervisors will receive alerts when they have exception requests to process. |
Pending Authorizations |
Select the Pending Authorization checkbox to receive alerts when there are allocations to authorize. |
Pending Acceptance |
Select the Pending Acceptance checkbox to receive alerts when there are unaccepted allocations to accept. |
Unallocated Costs |
Select the Unallocated Costs checkbox to receive alerts when there are unallocated hours to allocate. |
Other Cost Assignments |
Select the Other Cost Assignments checkbox to receive alerts when other cost assignments are within three days of expiration. |
Select the Revokes Completed checkbox to enable the Alert icon on the Track Home Page, displaying the message at the header frame. When a revoke occurs for an organization, the Alert icon on will become red. Hover a mouse point over the Alert icon to display a notification, Revoke Processed. Once viewed, the notification will disappear until another revoke is processed. |
|
Pre-Approval Requests |
Select the Pre-Approval Requests checkbox to receive the alerts if the pre-approval is used. |
Primary Area for unauthorized alerts |
Select the appropriate checkboxes to identify the unauthorized alert as the Primary for one or more Area IDs. Other accessible Area IDs will be identified as Other. |
Primary Area for exception request alerts |
Select the appropriate checkboxes to identify the alert as the Primary for one or more Exception Handlers. Other accessible Exception Handlers will be identified as Other. |
From the Personal Information screen, enter an email into the Email Address text box.
Select the preferred delivery interval from the Track Interval drop-down list.
All times are GMT.
Blank – Alerts will not be sent
Hourly Intervals – Alerts sent 12:00am; 1:00am; 2:00am … (or next hourly interval after these settings have been submitted).
6 Hour Intervals – Alerts sent 12:00am; 6:00am; 12:00pm; 6:00pm each day
12 Hour intervals – Alerts sent 12:00am; 12:00pm each day
Check the Pending Authorizations checkbox.
Select one or more checkboxes in the Primary Area for unauthorized alerts area.
Click Submit to save.