Resolve Exception

Understand Exception

If an EXCEPTION status appears in the Labor Hours screen, it is necessary to correct the labor resource's event before the net billable hours can be calculated and allocated. Resolving the exceptions can be accomplished by manually adding an IN or an OUT time to pair up with the existing IN or OUT time. Alternatively, click the IN/OUT Correction button to automatically correct the event.

Resolve an exception

Refer to Move the In/Out time for more information on how to move an IN or an OUT time to a different timesheet date.


Manually correct the IN or the OUT time

  1. Click the Activity menu link to open the Labor Hours screen.

  2. If applicable, select a location from the Location drop-down list located at the menu bar.

  3. From the Labor Hours screen, select an organization from the Organization drop-down list.

  4. Select a labor group from the Group drop-down list.

  5. Enter a date or a date range into the From and To text boxes. Alternatively, select the dates from the calendars. (see also Date Format)

  6. Select a labor resource from the Labor Listing to highlight the line item.

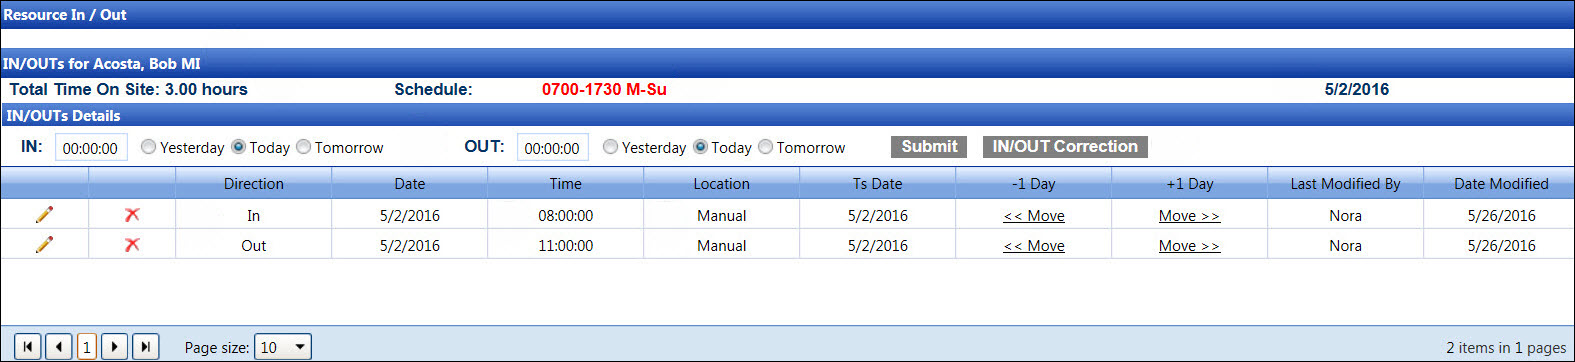
  7. Click the In/Out link to open the Resource In/Out screen.

      
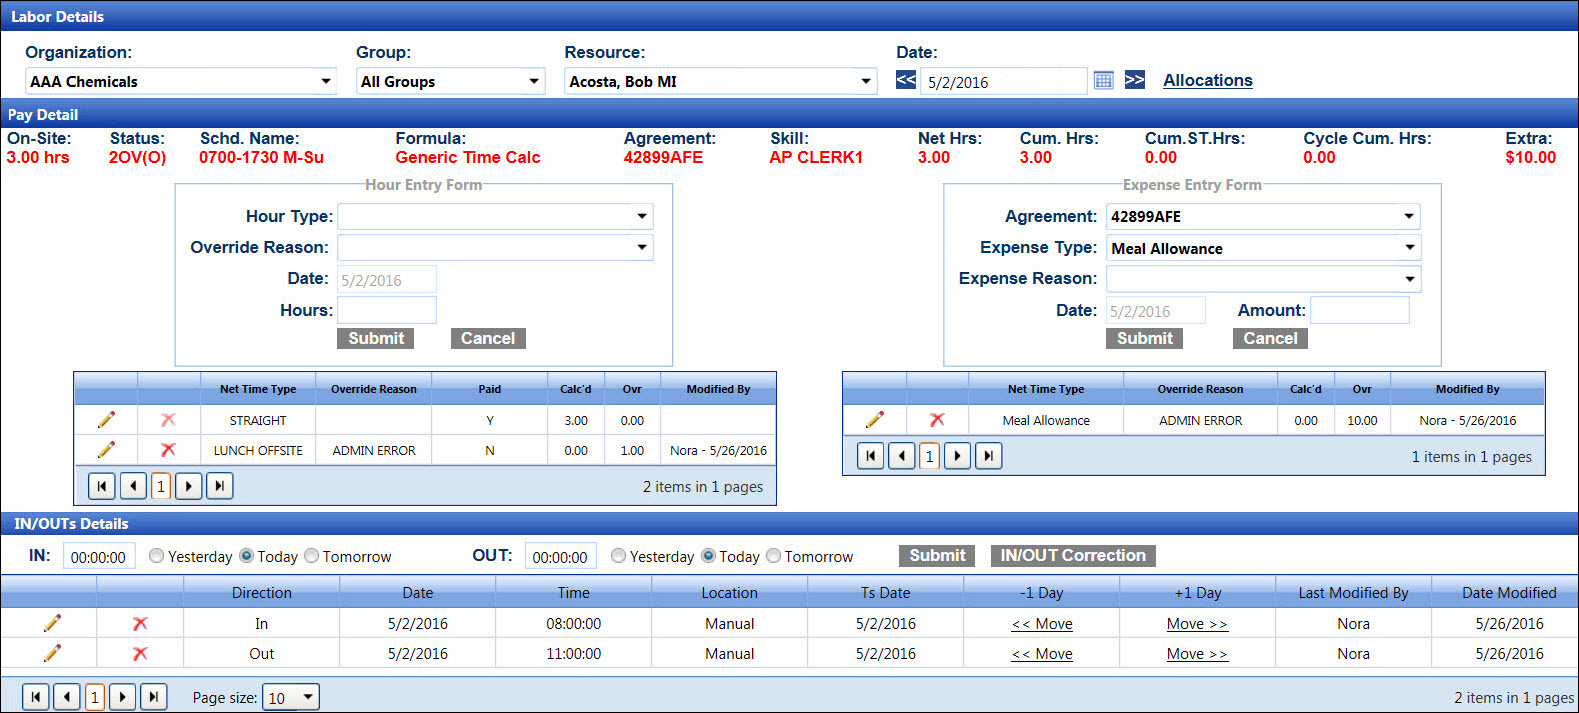
    Or click the Labor Details link to open the Labor Details screen.

  8. INs and OUTs will be ordered by the swipe time from Access Control System. Locate missing event(s) by looking for two INs and/or two OUTs in a row.  

  9. If an IN time is missing an OUT time, enter the OUT time into the OUT text box, using the 24-hour format (HH:MM:SS).

  10. If an OUT time is missing an IN time, enter the IN time into the IN text box, using the 24-hour format (HH:MM:SS).

  11. Click the Submit button to save and display the manually entered IN or OUT time in the IN/OUTs Details grid.


Auto IN/OUT correction to resolve exception for a labor

The auto IN/OUT correction can be performed for a single day. This feature is also available at the Resource In/Out screen or the Labor Details screen.

  1. From the Labor Listing located at the Labor Hours screen, click the checkbox next to the labor with an EXCEPTION status.

  2. Click the IN/OUT Correction link to automatically add a second to an IN time or take away a second from an OUT time to complete a pair of event. The event status changes to OUT.


Auto IN/OUT correction to resolve exceptions for multiple labors

  1. From the Labor Listing located at the Labor Hours screen, click the IN/OUT column header to sort the events and bring the EXCEPTION status to the top of the Labor Listing.

  2. Click the checkboxes next to the labor resources with the EXCEPTION status.

  3. Click the IN/OUT Correction link to automatically add a second to an IN time or take away a second from an OUT time to complete a pair of event. The event status changes to OUT.


Related Topic

Resource Event