Pre-Approval Reasons
The options for the Pre-Approval drop-down list are set up at the Override
Reasons screen. Before assigning the pre-approval reasons to the Labor,
Equipment, or Material module, ensure the global override reasons are
completed. Refer to Override
Reasons for more information on how to set up the global override
reasons.
Open the Pre-Approval Reasons screen
Hover a mouse pointer over the Settings menu on the menu
bar to display its menu.
Slide a mouse pointer over the Global Values option then
Pre-Approval Reasons to display
its menu.
Click Pre-Approval Reasons
to open the Pre-Approval Reasons screen.
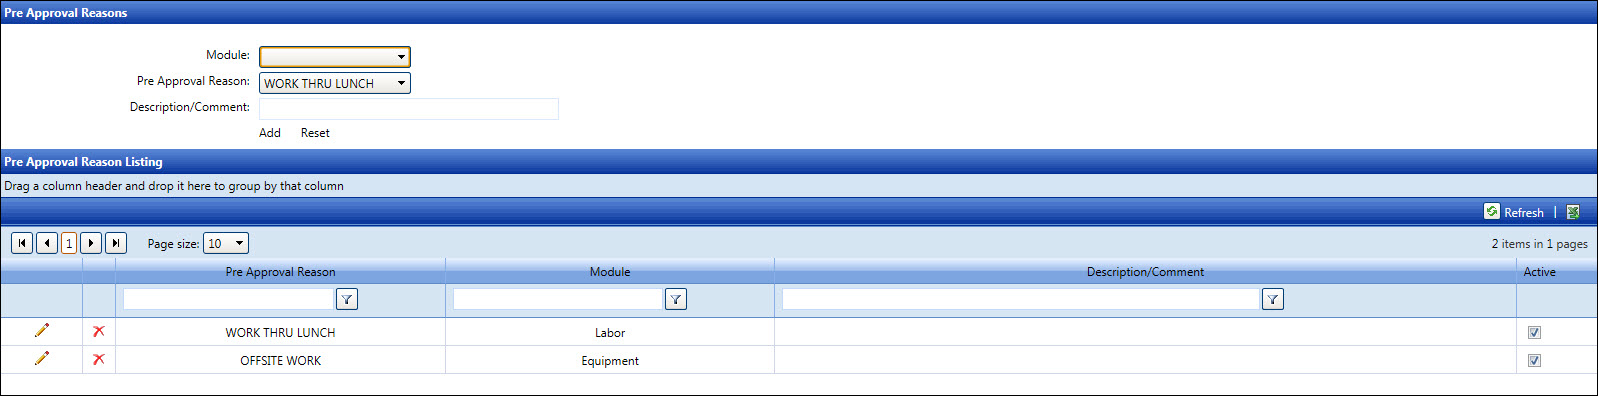
Assign a pre-approval reason to a module
- If applicable, select a location from the Location
drop-down list located at the menu bar.
Select the Labor, Equipment, or Material
option from the Module drop-down
list.
Select a pre-approval reason from the Pre-Approval
Reason drop-down list.
Enter a description or comment for the selected pre-approval
reason into the Description/Comment
text box, if applicable.
Click the Add link to
save and display the selected pre-approval reason to the selected
module in the Pre-Approval Reason Listing. The selected pre-approval
reason is automatically assigned an active status with the checked
Active checkbox in the Pre-Approval Listing.
Edit a pre-approval reason's description/comment or status
To assign pre-approval reason to another module, the pre-approval must
be deleted then reassigned to another module
From the Pre-Approval Reasons Listing, click the Edit
icon on a line item to enable the Description/Comment text box and
Active checkbox.
Make changes to the selected pre-approval reason's description
or comment in the Description/Comment
text box.
Change the selected pre-approval status by selecting the Active checkbox for active status
or deselecting the checkbox for an inactive status.
Click the Update button
to save and display the modifications in the Pre-Approval Listing.
Unassign a pre-approval reason from a module
From the Pre-Approval Listing, click the Delete
icon on a line item. The delete confirmation pop-up message appears.
Click OK to unassign
and transfer the selected pre-approval reason back to the Pre-Approval
Reason list box.