Hover a mouse pointer over the Settings menu on the menu bar to display its menu.
Slide a mouse pointer over the Global Values option to display its menu.
Click Override
Reasons to open the Override Reasons screen.
This tutorial is for Track users needing to add the global override reasons. Track Coordinators typically perform this task.
The override reasons are used to classify the override hours entered in Track. Overrides are needed when Track is unable to calculate the exact net billable time for a labor resource. This can occur due to missing badge events, working outside of the assigned schedule, taking late or early lunches, running outside of the gate throughout a shift to obtain tools or equipment for the job. The override reasons also use as pre-approval reasons.
Hover a mouse pointer over the Settings menu on the menu bar to display its menu.
Slide a mouse pointer over the Global Values option to display its menu.
Click Override
Reasons to open the Override Reasons screen.
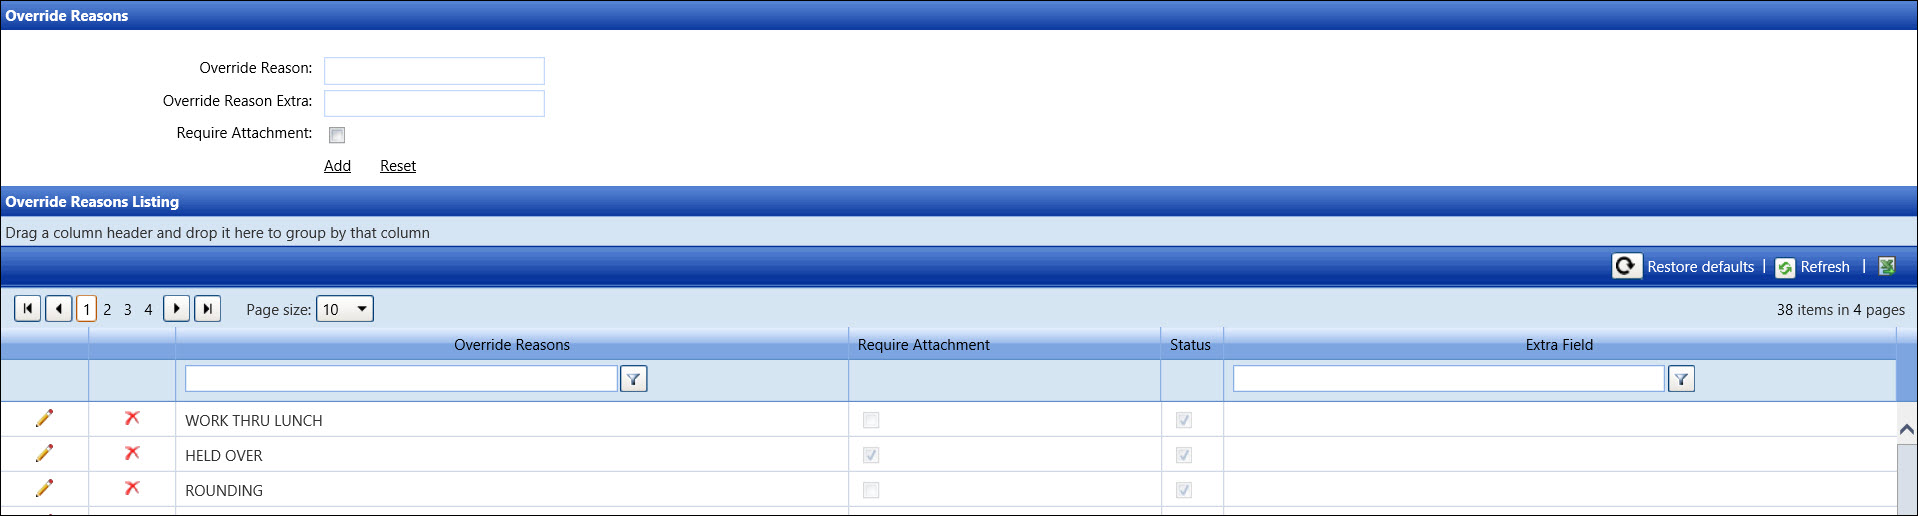
From the Override Reasons screen, enter a new override reason into the Override Reason text box.
Enter additional information into the Override Reason Extra text box, if applicable.
If the override reason required an attached document, at the Enterprise level, when the users request an override, click the Required Attachment checkbox. Otherwise, proceed to the next step.
Click Add to save and display a new override reason in the Override Reasons Listing. The override reason's Status checkbox are selected by default, indicating that it is available for use.
Once an override reason is created, it is given an active status by default. Even though an override reason name cannot be edited, its information can be edited.
From the Override Reasons Listing, click the Edit icon to enable the Required Attachment and Status checkbox and the Extra Field text box.
If the override reason required an attached document when the users request an override, select the Require Attachment checkbox to enable the Require Attachment setting. Otherwise, deselect the checkbox to disable the Require Attachment setting.
The Status checkbox displays the checkmark, indicating that this override reason is active. To assign an inactive status, deselect the Status checkbox.
If applicable, make changes in the Extra Field text box.
Click the Update icon to save and display the updated override reason’s status and additional information in the Override Reasons Listing.
The override reason cannot be deleted if it is in use. To deactivate an override reason that is in use, refer to Edit an Override Reason in this tutorial for more information.
From the Override Reasons Listing, click the Delete icon on a line item. The delete confirmation pop-up message appears.
Click OK to delete the selected override reason.
Before the override reasons can be used throughout the Track application, they need to be assigned to a location. Refer to Assign Override Reasons to a Location tutorial video or in the Track User Documentation on how to assign the override reasons to a location.