Hover a mouse pointer over the Settings menu on the menu bar to display its menu.
Slide a mouse pointer over the Global Values option then Pre-Approval Reasons to display its menu.
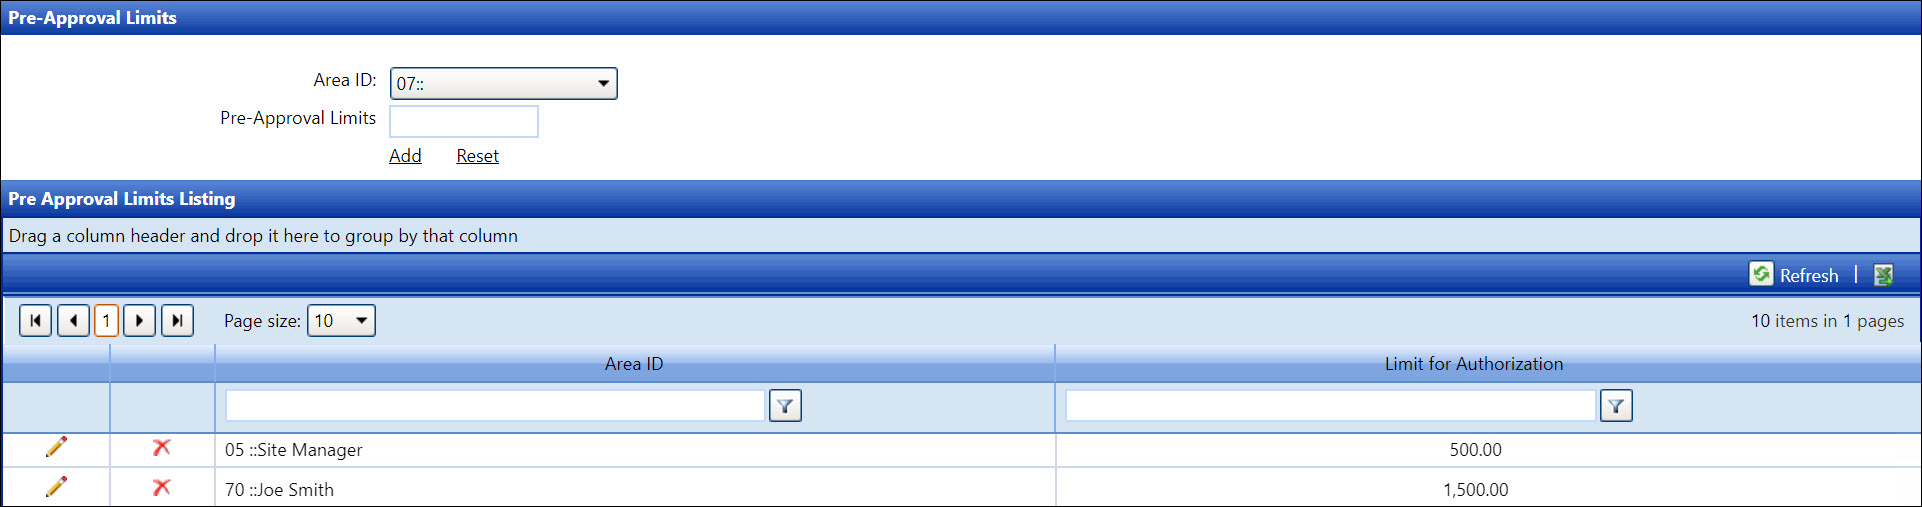
Click Pre-Approval Limits to
open the Pre-Approval Limits screen.
Refer to Area Master for more information on how to add a new area ID and approver listing.
Hover a mouse pointer over the Settings menu on the menu bar to display its menu.
Slide a mouse pointer over the Global Values option then Pre-Approval Reasons to display its menu.
Click Pre-Approval Limits to
open the Pre-Approval Limits screen.
If applicable, select a location from the Location drop-down list.
From the Pre-Approval Limits screen, select an area ID from the Area ID drop-down list.
Enter the amount of limit for authorization into the Pre-Approval Limits text box.
Click Add to save and
display the limit for authorization for the selected area ID in the
Pre-Approval Limits Listing.
The area ID cannot be edited.
From the Pre-Approval Limits Listing, click the Edit icon to enable the Limit for Authorization text box.
Edit the limit amount into the Limit for Authorization text box.
Click the Update icon to save and display the modifications in the Pre-Approval Limits Listing.
If the limit for authorization is used in a request, it cannot be deleted.
From the Pre-Approval Limits Listing, click the Delete icon. The delete confirmation pop-up message appears.
Click OK to delete the selected limit of authorization.