Hover a mouse pointer over the Settings menu on the menu bar to display its menu.
Slide a mouse pointer over the Global Values option then Areas to display its menu.
Click Area Master to open the Area Master screen.
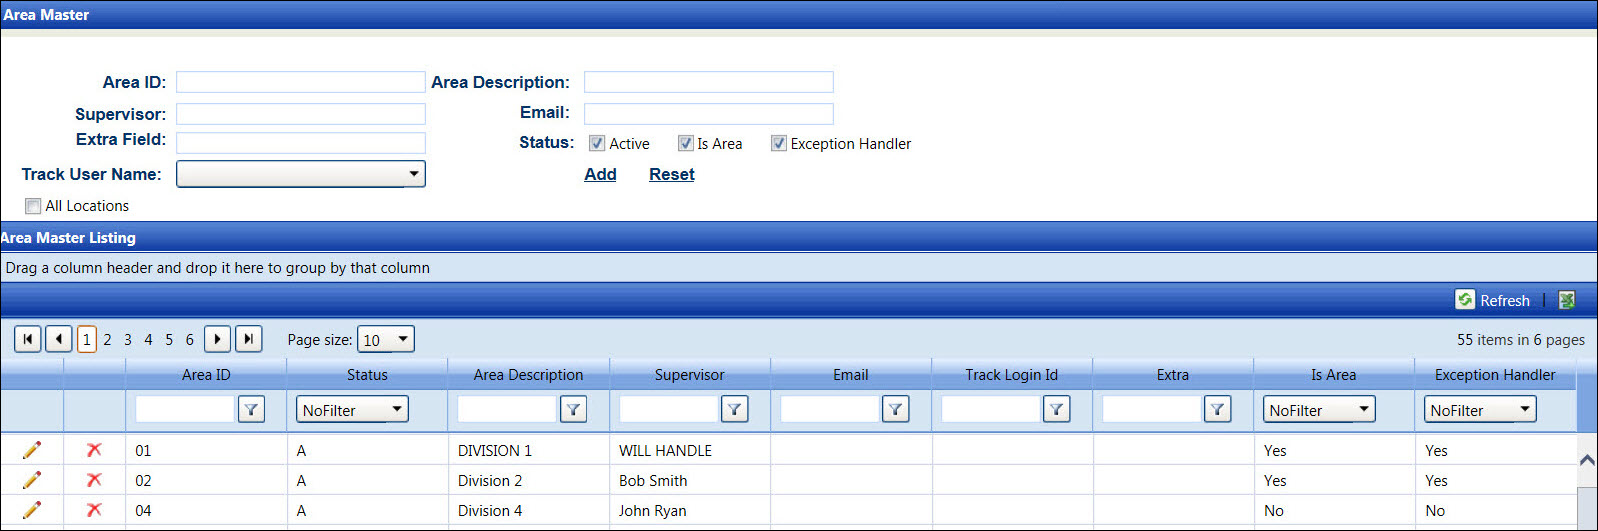
The areas are used in the Track application to identify the supervisors who are responsible for the on-going projects. Area IDs are assigned to either Level 1 or Level 2 cost objects which directs which supervisors should authorize the allocated hours and costs.
Click the All Locations checkbox to display areas for all locations in the Area Master Listing.
Hover a mouse pointer over the Settings menu on the menu bar to display its menu.
Slide a mouse pointer over the Global Values option then Areas to display its menu.
Click Area Master to open the Area Master screen.
Area ID must be less than 15 characters and cannot be edited after it is saved.
If applicable, select a location from the Location drop-down list located at the menu bar.
From the Area Master screen, enter an area ID into the Area ID text box.
Enter an area description into the Area Description text box.
Enter an area supervisor's name into the Supervisor text box.
If Track has been configured to connect to an external email system, enter the area supervisor's email into the Email text box.
Enter additional information into the Extra Field text box, if applicable.
The Active checkbox is selected by default. Click the Active checkbox to deselect it, assigning the new area ID an Inactive status and preventing it from being displayed in the drop-down lists.
Since the Is Area checkbox is selected by default, the imported cost objects will have an assignment and allocations can be directed to this Area ID for Authorization
The Exception Handler checkbox is selected by default, allowing the supervisor to approve an override. Click the Exception Handler checkbox to deselect it, preventing the supervisor from approving an override.
Selecting Track username is optional unless the Delegation of Authority functionality is being used. In that case, select the Track username associated with this area ID from the Track User Name drop-down list.
Click Add to save and display the new area ID in the Area Master Listing.
The area ID cannot be edited. However, its information can be modified.
From the Area Master Listing, click the Edit icon on a line item to display its information in the appropriate text boxes, drop-down list, and status checkboxes.
Make changes then click Update to save the modifications.
An area ID cannot be deleted if it is use.
From the Area Master Listing, click the Delete icon on a line item. The delete confirmation pop-up message appears.
Click OK to delete the selected area ID.
Related Topic