Hover a mouse pointer over the Settings menu link on the menu bar to display its menu.
Slide a mouse pointer over the Enterprise option to display its menu.
Click Area Location to open the Area Location screen.
Areas can be assigned to a specific location.
Hover a mouse pointer over the Settings menu link on the menu bar to display its menu.
Slide a mouse pointer over the Enterprise option to display its menu.
Click Area Location to open the Area Location screen.
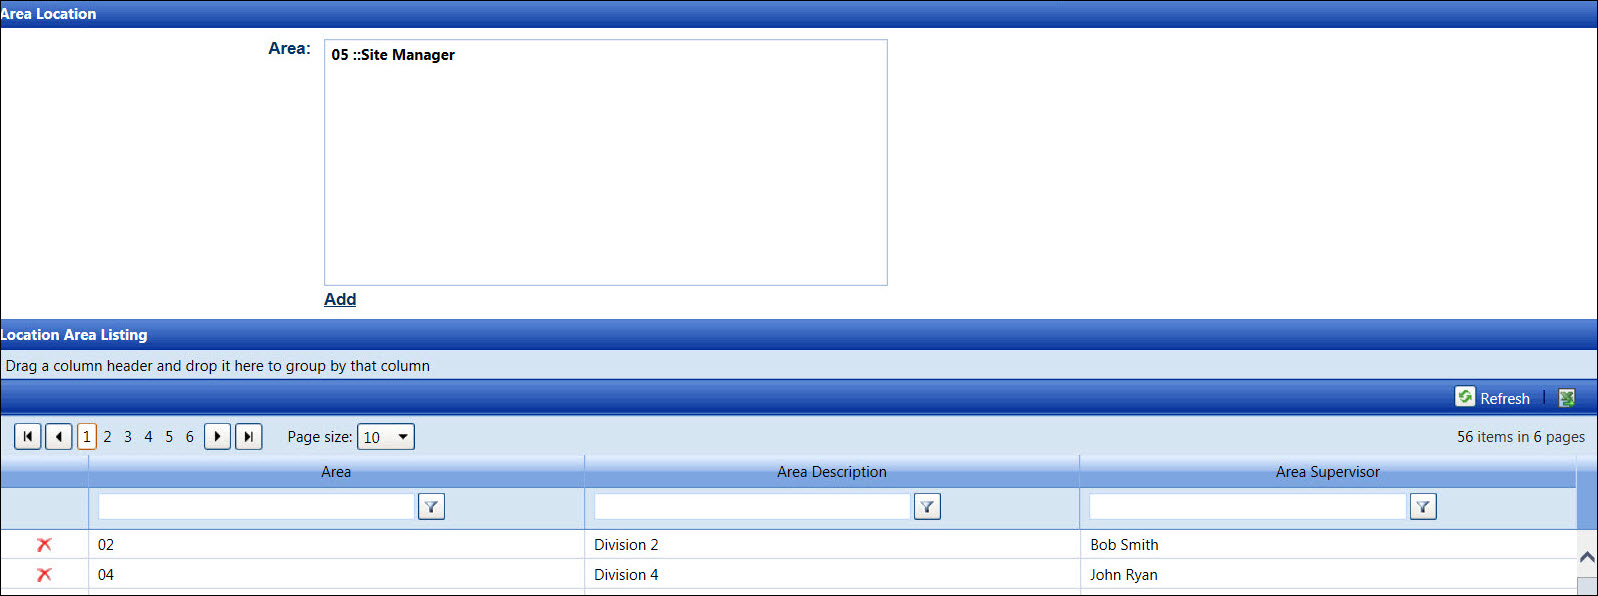
At the menu bar, select a location from the Location drop-down list to display the available areas in the Area list box and the assigned areas in the Location Area Listing.
Select one or more areas from the Area list box, using the Control or Shift key controls. (see also Control and Shift Keys)
Click Add to assign the selected areas to the selected location. The assigned areas are displayed in the Location Area Listing.
Repeat the steps to assign areas to another location.
At the menu bar, select the location from the Location drop-down list to display its previously assigned areas in the Location Area Listing.
From the Area Listing, click the Delete icon on a line item. The delete confirmation pop-up message appears.
Click OK to delete the selected area from the selected location and transfer it back to the Area list box.