Click the Invoices menu to open the Authorization Central screen.
If applicable, select a location from the Location drop-down list located at the menu bar.
From the Authorization Central screen, the All Organization option in the Organization drop-down list is selected by default. Select a specific organization from the Organization drop-down list. Otherwise, proceed to the next step.
The All Areas option in the Area ID drop-down list is selected by default. Select a specific area ID from the Area ID drop-down list, or proceed to the next step.
Click the checkbox, located between the Area ID drop-down list and the From text box, to enable the From and To text boxes and calendars.
Enter a timesheet date or date range into the From and To text boxes. Alternatively, select the dates from the calendars. (see also Date Format)
The No Filter option in the Filter drop-down list is selected by default. To display only labor, equipment, or material items, click the Filter drop-down list to select Labor, Equipment, or Material option.
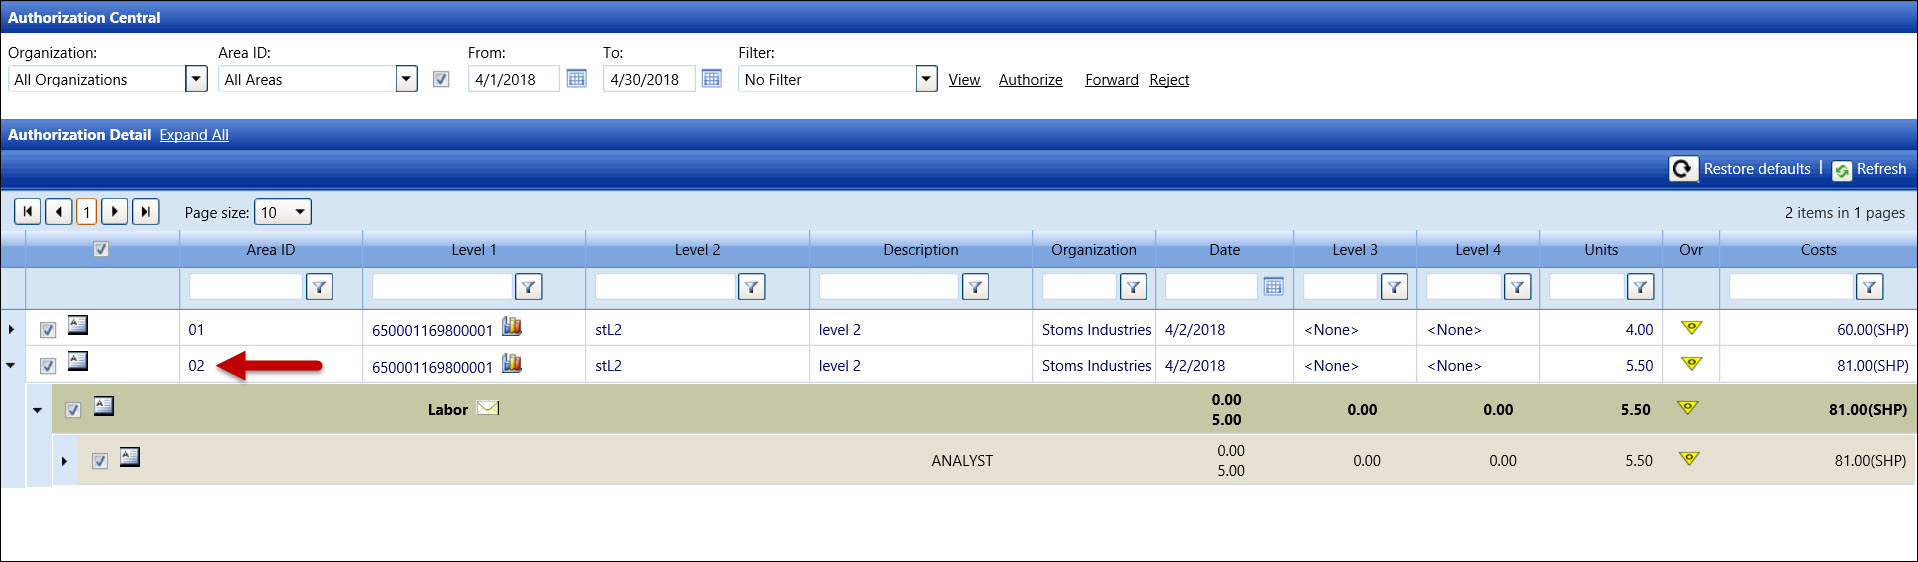
Click the View link to display the hours, other costs, or charges that are ready to be authorized. The records, displaying in the Authorization Detail grid, are grouped by a timesheet date and only display up to thirty days prior the selected From date.
To expand and display all line items, click the Expand All link located next to the Authorization Detail grid's header.
Alternatively, click the Expand icon to open the selected line item, displaying the hours, other costs, or charges.
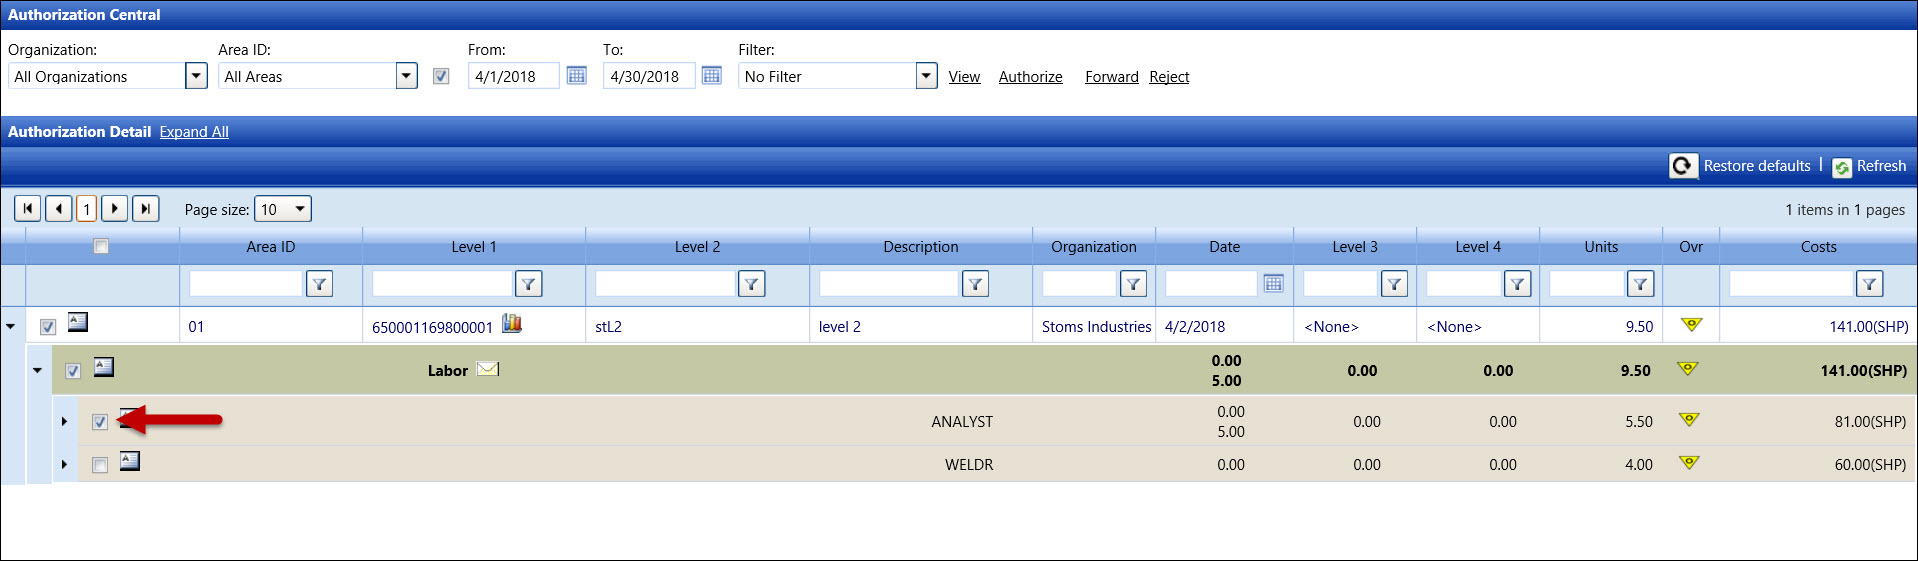
Click one of more checkboxes on the line item to select the
hours, other costs, or charges.
Click the Forward link
to open the Forward dialog box.
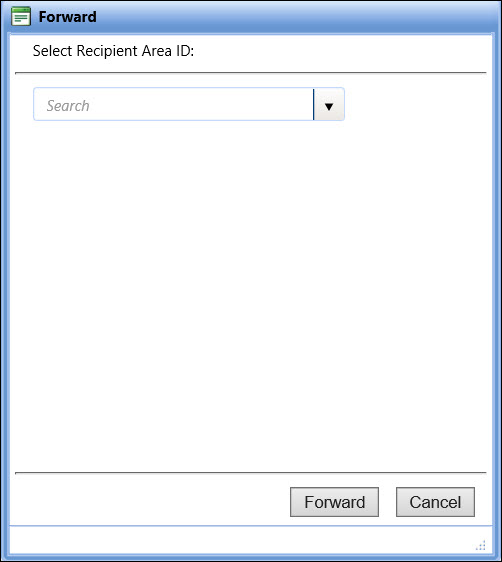
Select an area ID from the Select Recipient Area ID drop-down list.
Click the Forward button.
The screen refreshes and the Forward dialog box displays the number
of allocations that have been forwarded to the selected area ID.

Click the Close button
to return to the Authorization Central screen, displaying the selected
allocation under the forwarded area ID.