Hover a mouse pointer over the Settings menu link on the menu bar to display its drop-down menu.
Slide a mouse pointer over the Unit Price option to display its menu.
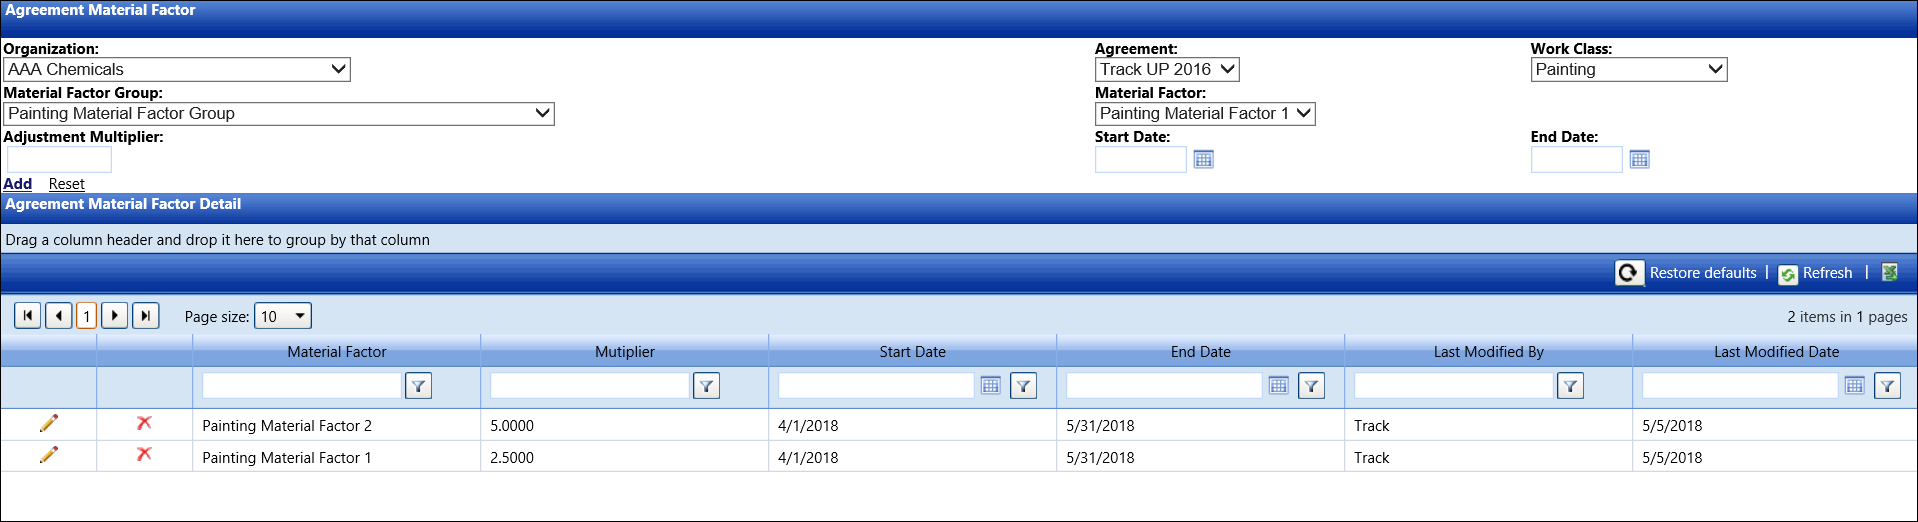
Click Agreement Material Factor
to open the Agreement Material Factor screen.
Hover a mouse pointer over the Settings menu link on the menu bar to display its drop-down menu.
Slide a mouse pointer over the Unit Price option to display its menu.
Click Agreement Material Factor
to open the Agreement Material Factor screen.
If applicable, select a location from the Location drop-down list located at the menu bar.
From the Agreement Material Factor screen, select an organization from the Organization drop-down list.
Select an agreement from the Agreement drop-down list.
Select a work class from the Work Class drop-down list.
Select a material factor group from the Material Factor Group drop-down list.
Select a material factor from the Material Factor drop-down list.
Enter an adjustment number into the Adjustment Multiplier text box.
Enter the start and end dates into the Start Date and End Date text boxes. Alternatively, select the dates from the calendars. (see also Date Format)
Click Add to save and display the new agreement material factor in the Agreement Material Factor Details grid.
From the Agreement Material Factor Details grid, click the Edit icon on a line item to enable the Multiplier, Start Date, and End Date text boxes.
Make the changes to the selected agreement material factor then click the Update icon to save the modifications.
From the Agreement Material Factor Details grid, click the Delete icon on a line item. The delete confirmation pop-up message appears.
Click OK to delete the selected agreement material factor.