Hover a mouse pointer over the Settings menu link on the menu bar to display its drop-down menu.
Slide a mouse pointer over to the Agreements to display its menu.
Click Agreement Charges to
open the Labor Agreement/Assign Extra Charges screen.
Hover a mouse pointer over the Settings menu link on the menu bar to display its drop-down menu.
Slide a mouse pointer over to the Agreements to display its menu.
Click Agreement Charges to
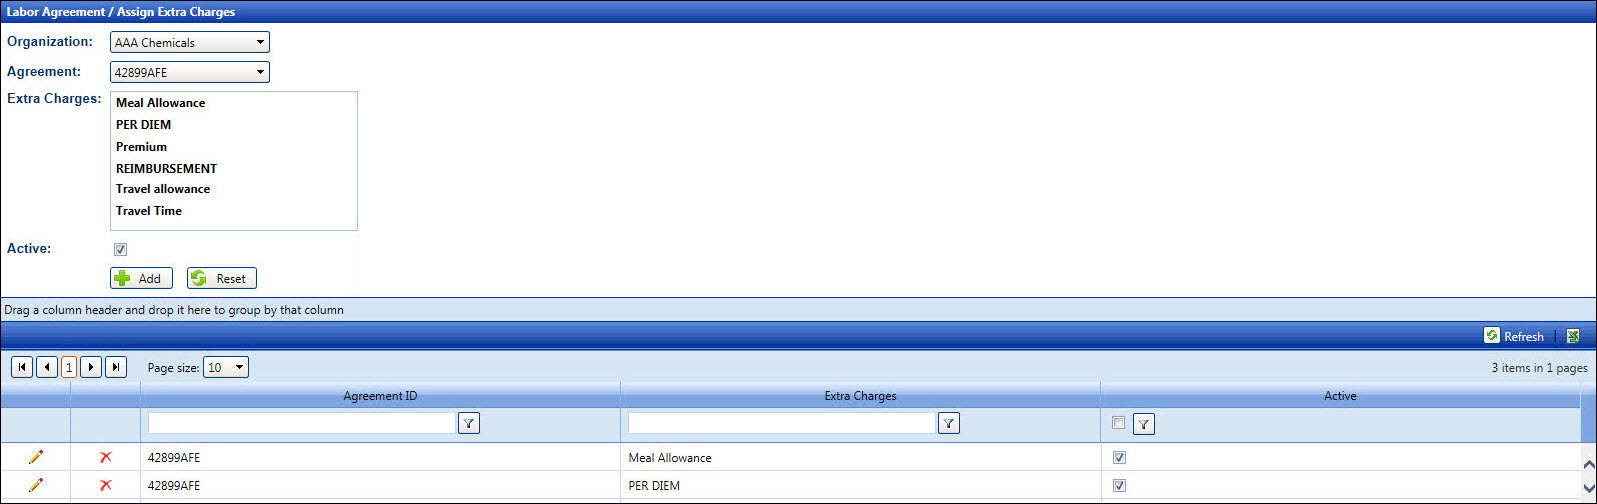
open the Labor Agreement/Assign Extra Charges screen.
If applicable, select a location from the Location drop-down list located on the menu bar.
From the Labor Agreement/Assign Extra Charges screen, select an organization from the Organization drop-down list.
Select an agreement from the Agreement drop-down list.
Select one or more extra charges from the Extra Charges list box, using the Control or Shift key control. (see also Control and Shift Keys)
The Active checkbox is selected by default. Proceed to the next step.
Click the Add button to save and display the selected extra charges to the agreement in the grid.
Once the extra charges are assigned to the agreement, they cannot be removed. However, assign an inactive status to the extra charges to prevent future usage.
From the grid, select an Update icon on a line item to enable the Active checkbox.
Select or deselect the Active checkbox to assign an active or inactive status to the selected extra charge.
Click the Update icon to save the updated status.
From the grid, click the Delete icon on a line item. The delete confirmation pop-up message appears.
Click OK to delete the selected extra charge.